Step 1 : Setup Parts With Maintenance Frequency
You can setup parts with a maintenance frequency. This step is not necessary to perform maintenance on an asset, but allows default values to be set like maintenance frequency.
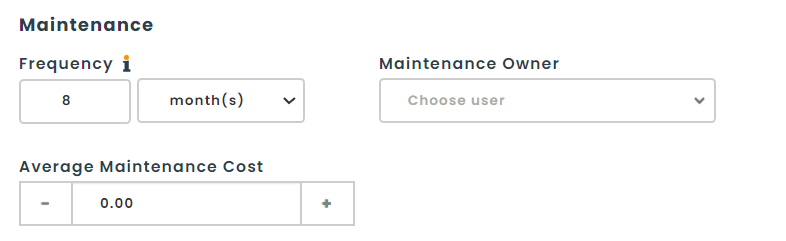
For example, we select a part then clicked on the edit button. Once in edit mode, we scroll in the list of fields and we can selected a date range for the maintenance frequency.

Step 2 : Using Maintenance on Assets
Maintenance dates can be set when creating or editing an existing asset.
For example, we have created a new asset and we can see that the maintenance date was automatically calculated based on the acquired date and the value set on the part in the previous step.
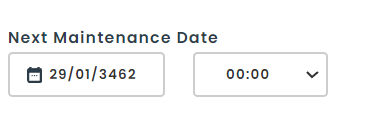
Once the asset is created we can see when the next maintenance date is planned based on its values. We can also choose to perform a maintenance using the “Perform Maintenance button”.
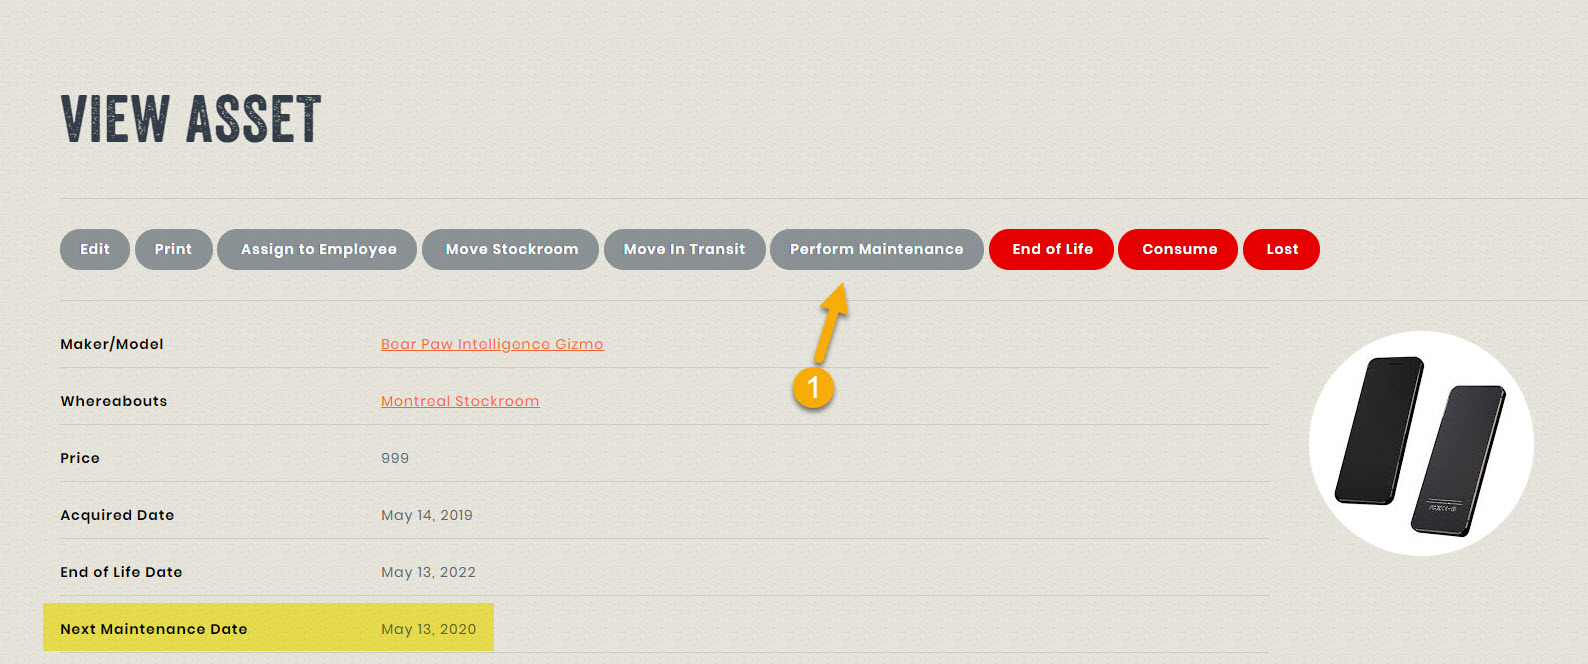
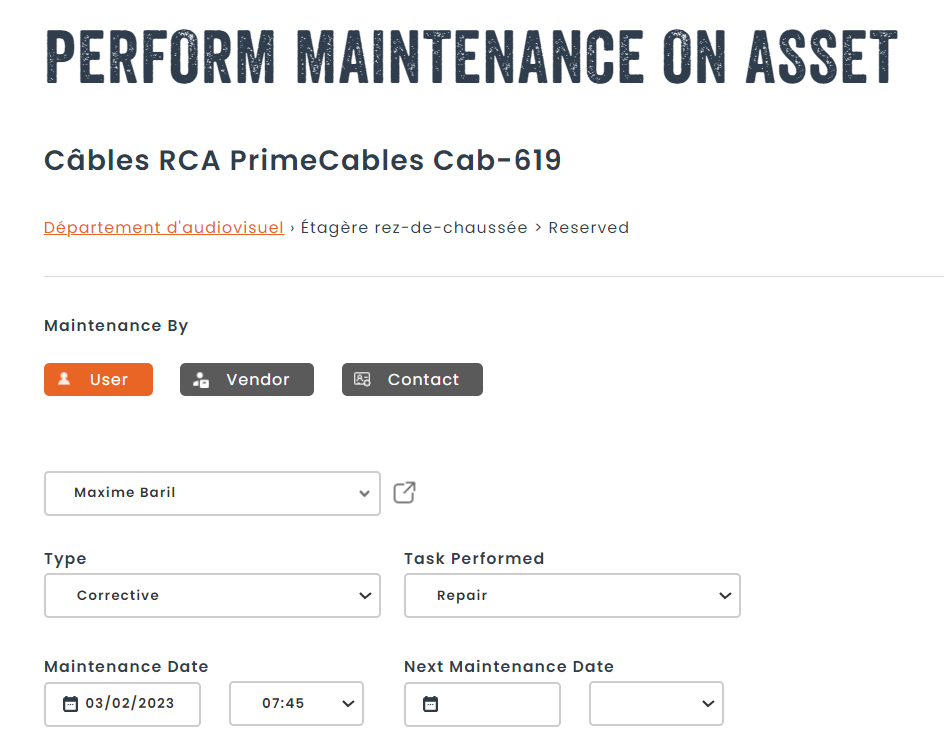
When clicking on this button, the user will be able to enter important information on the maintenance :
- Who performed the maintenance
- The type of maintenance performed (was it preventive, or corrective?)
- The task performed while doing the maintenance (cleaning, repairing, etc.)
- The condition of the asset when the maintenance was performed
- A note detailing the task performed
- The date of the maintenance
- The next planned maintenance date
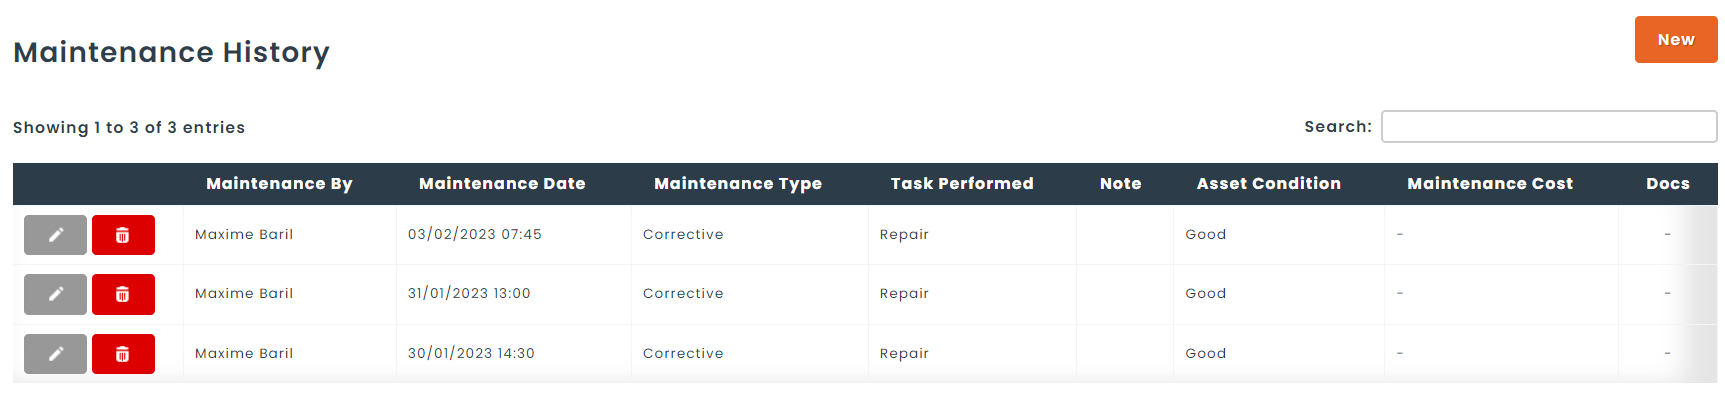
Once this is completed, a maintenance history window can be accessed in the asset view screen showing the detailed history of the maintenance performed on this asset.