
Physical counts are critical steps for organizations wishing to maintain a control over their inventory. Humans make mistakes, real life happens, and over time, inventory gets scattered, moved, misplaced, assigned, unassigned, lost, found, lost again, stolen, or broken.
This is where performing physical inventory counts becomes critical. It allows a reset of your inventory, in order to have the most accurate picture possible. This is essential for financial and operational purposes, so that budgets can plan for what is missing, and that daily operations never have to scramble to find inventory that is missing.
So how do you go about setting up physical inventory counts in your Hector environment? I’m glad you asked. You can watch our video, or follow the steps below.
Requirements
- Be an administrator to configure the settings.
- Your subscription plan is Armor or better.
- Your environment has stockrooms, categories, parts and assets.
Step 1. Settings
There are different settings that can be setup for physical counts. To do so, navigate to the Settings menu and click on the Counts section.

Once inside, you will have the option to configure the following options for your Physical Counts.
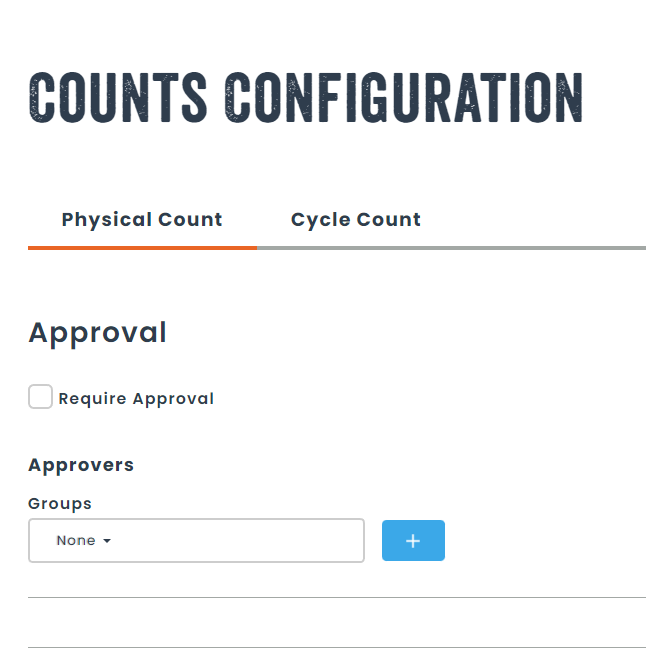
- Approval
- If you want your physical counts to be approved before they can be started, you can set up an approval process and specify a group of users that are allowed to approve physical counts.
- You may leave unchecked if you do not wish to use an approval process.
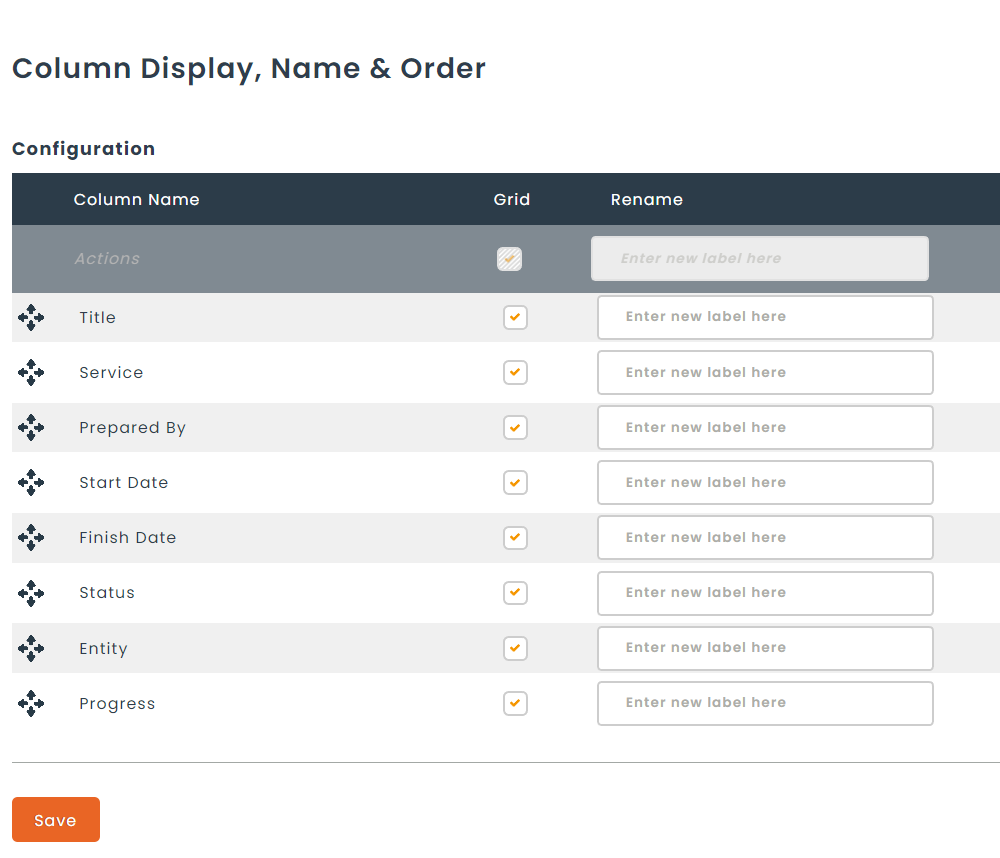
- Column Display, Name & Order
- You can setup the different visible columns in the grid layouts, as well as define their position, and finally rename columns if you want another name to be used within the application.
Step 2. Planning
Before you set out to create your first physical count, here are some guidelines to help you achieve success during your count.
- For your first physical count, we recommend choosing a small location, with a limited number of assets (less than 100). This will allow you to better understand the tools that will be used to perform the count before you move on to bigger locations.
- Are the assets tagged with a barcode or QR code and does that number exist in Hector? If not, plan additional time to tag the assets as you take inventory, in order to strike two birds with one stone.
- Generating QR codes and Barcodes with Hector can help tremendously with this step, as well as having a thermal printer to speed up the asset tag generation step.
- Generating QR codes and Barcodes with Hector can help tremendously with this step, as well as having a thermal printer to speed up the asset tag generation step.
- Identify the team members that will be performing the count. Are they trained on Hector? Do they know what is expected of them? Will they be counting using our application, or through a paper sheet? Do they have sufficient rights to count and have they accessed Hector previously before the big day? Nothing is more frustrating than getting ready to count and being locked out of the system, or having training issues.
- We recommending limiting access to the inventory during the active count. Assets should not be moving in or out of the location where the count is performed. This means that teams that would normally need access to inventory should be informed in advance that a count will be taking place. Do not perform counts on your busiest days of the year.
- Remember that physical counts are not troubleshooting sessions. If an asset is missing, you record it as such and move on to the next one. You don’t want to be counting and doing detective work at the same time as this will quickly take up valuable time.
Step 3. Create a Physical Count
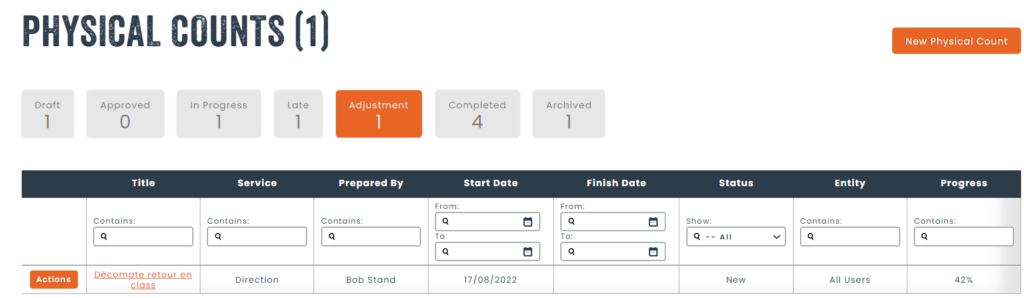
When you’re ready, you can go ahead and create a physical count from the Inventory menu. Select the Physical Counts section.
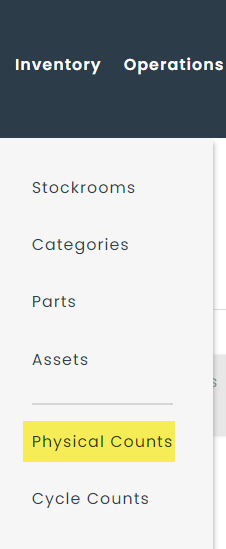
Once inside, you should see an empty list, and a New Physical Count orange button on the top right of the screen. Click this button.

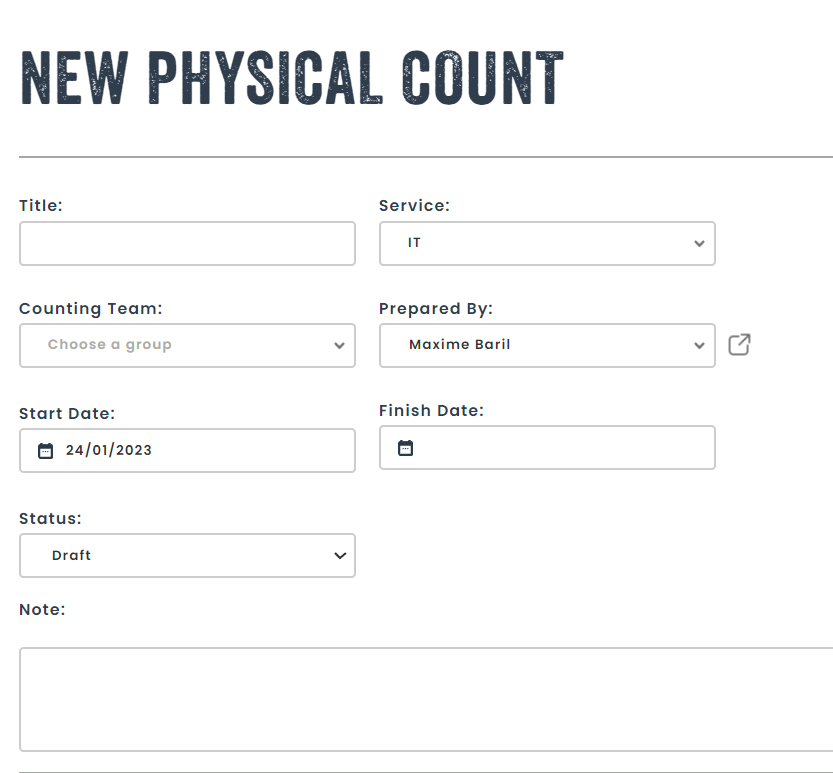
Next, you will be asked to fill in some fields.
- Title : The name of your count, like April Count.
- Department : Which department will be performing the count.
- Prepared By : The person who setup the count.
- Counting Team : The team who will have access to count using Hector.
- Start Date : The start of the count
- Finish Date : The end of the count
- Status
- Draft : The count is being setup and not yet finalized.
- Approved : Assets have been imported and the count is ready to begin.
- In Progress : The count is in progress
- Completed : The count has completed.
- Closed : Adjustments have been made and the count is archived.
Once the general information of the physical count has been entered, three very important options need to set in order to drive how the count will be performed.
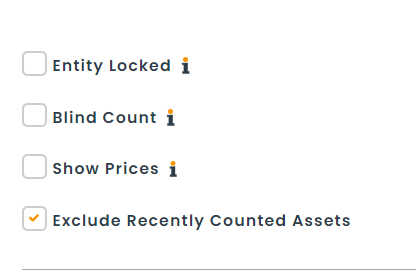
- Blind Count : Blind counts hide the actual quantities in the system from the counter. Depending on who is performing the count, this can have an impact on the accuracy of the data, as it can be easy to simply enter the in stock quantity to quickly go through the count, whereas the blind count will force the employee to count correctly.
- Entity Locked : If true, it will not be possible to move assets in or out of the entity used in the count. Stockrooms, places, users, customers and vendors are examples of entities that can be counted.
- Exclude Recently Counted Assets : If you have cycle counts setup, it is possible that some assets are counted regularly. If this is the case, you can exclude assets that have been counted in the last year from the count.
Step 4. Source of the Count
Now that we’ve setup our count, we can choose on which source we want to perform the count. In our example, we’ll be using the Département d’informatique stockroom.
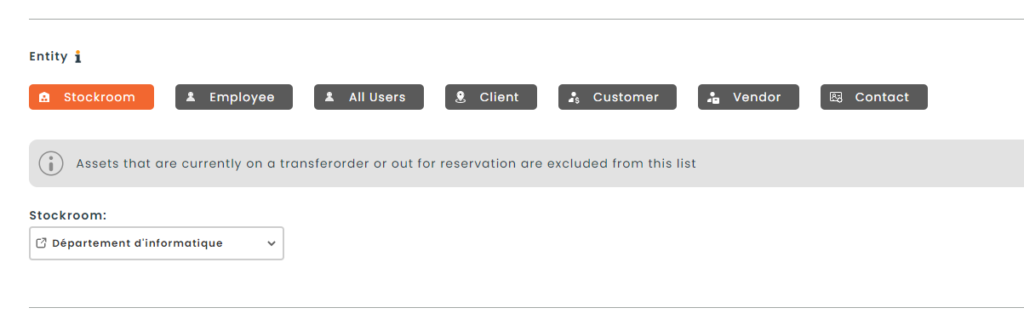
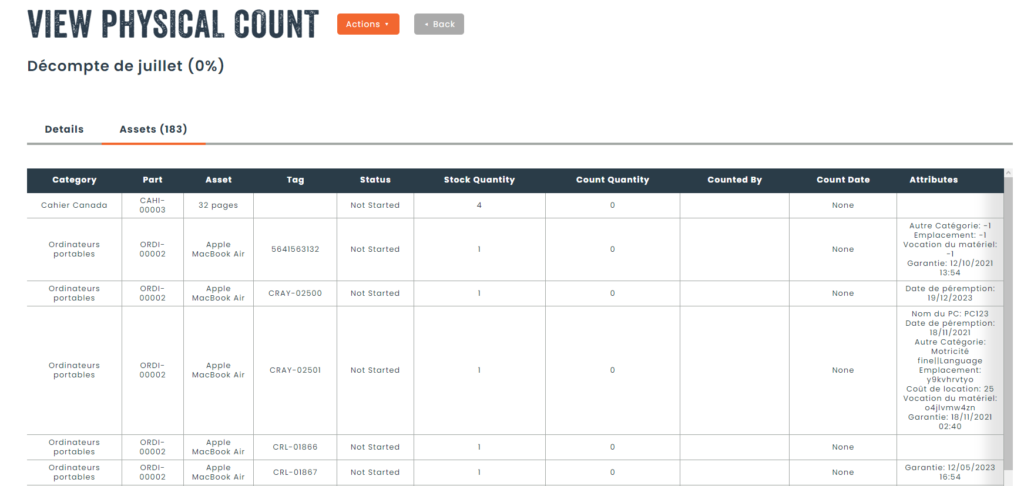
Once you save the count, all of the assets inside the source are going to be imported. When you view or modify the count you will see a section containing all of the assets that are part of the count and their status. This grid is not used for counting, but rather is used for an overview of the current status of the count.
Step 5. Start to Count
Once your count has been approved (or saved if you are not using approval), you can send print sheets by email or print them out for the team who will be performing the count. Another option (and greener) is to use mobile phones to perform the count. This will require an access to the Hector application.
Once you are ready to start the count, click on the Start Count option. If you chose to lock down the entity, transactions will no longer be possible until the count is completed.
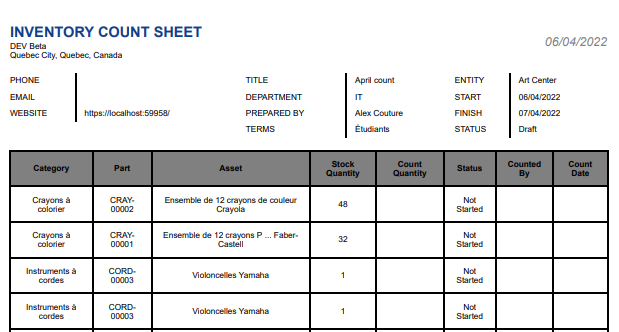
Counting with a count sheet
Here is an example of the count sheet printed out. We can see the in stock quantity, because this is not a blind count. There are spaces for the counter to put the quantity, the counted by and the count date. If counting using sheets, this data will need to be input into Hector during the adjustment step.
Counting with a mobile phone
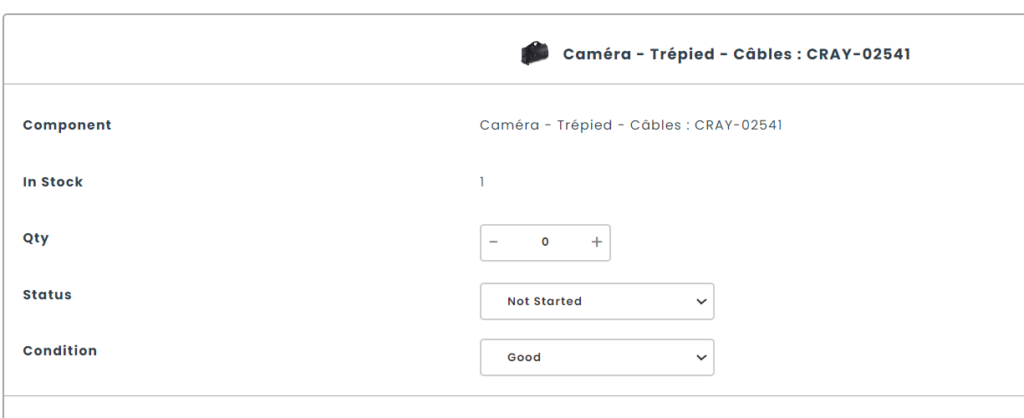
If you are performing the count using a mobile phone, navigate to the count and then click on the Count option.
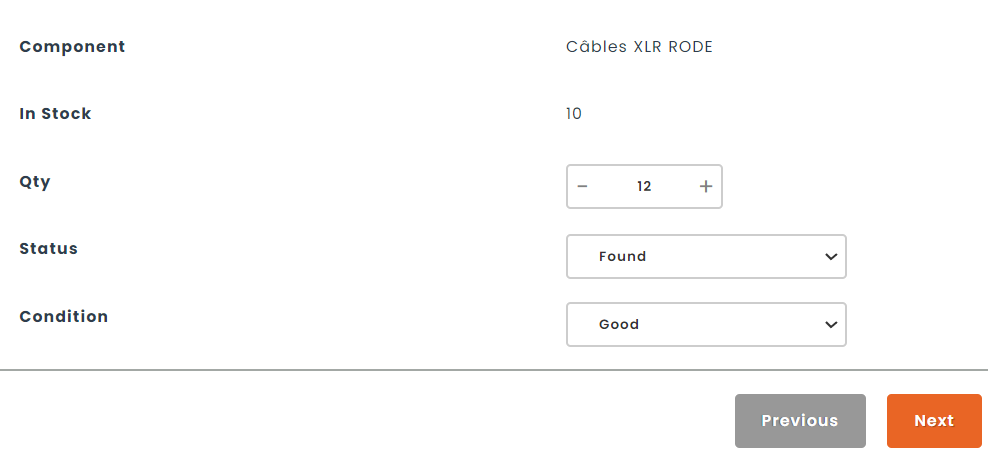
Hector will recommend assets to be counted based on the assets in stock. If the employee wants to count another asset, they will enter it where the (1) symbol is indicated. If not, they will find and count the asset on screen (2). If blind count is not activated, they will see how many are in stock (3). Finally, they will enter the quantity counted (4) and change the status to found (5).
If they did not find the asset in question, they can choose missing and move on to the next asset in the count. Remember, now is not the time for detective work!
At the top of the count, they will have a visual indicator of the progress of the count. They can click the Next button (2) each time they have counted an asset. Hector will suggest the next asset in line, or they can scan again to find the asset in front of them.
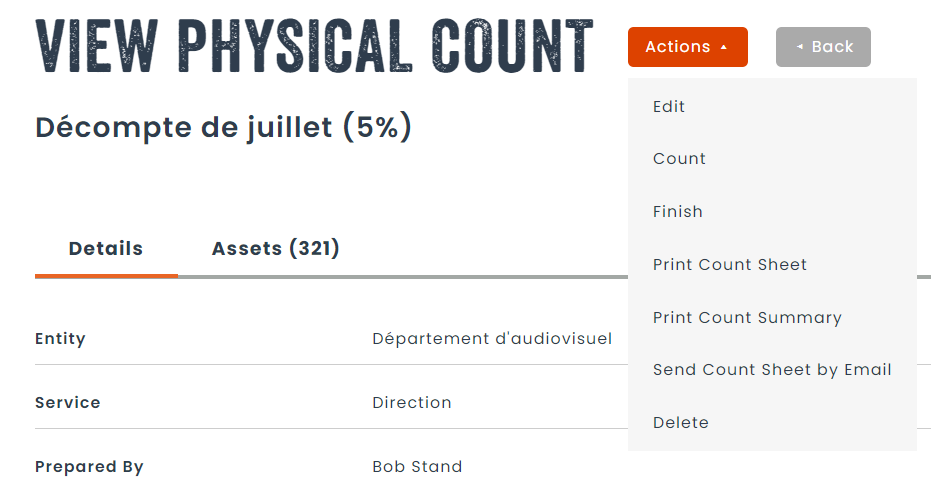
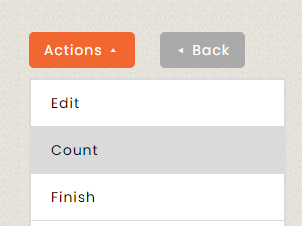
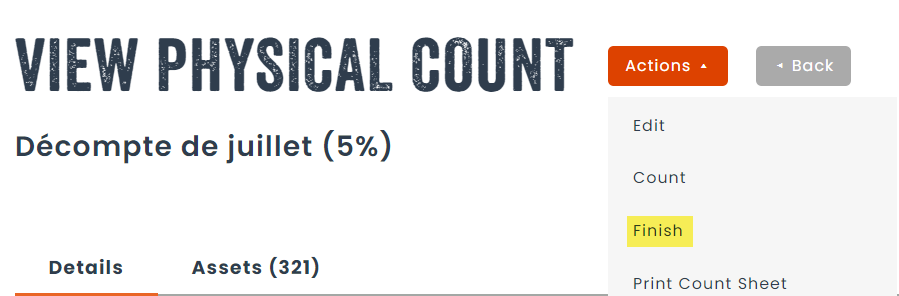
Step 6. Finish the Count
When the count has been completed and there is nothing else to count, the Next and Previous buttons will be replaced by a End Count (1) button, which will allow a counter to finish the count.
This step can also be performed from the physical count page by clicking on the Finish button.
Step 7. Adjustments
Once the count is complete, you can choose between two remaining steps Adjust and Close.
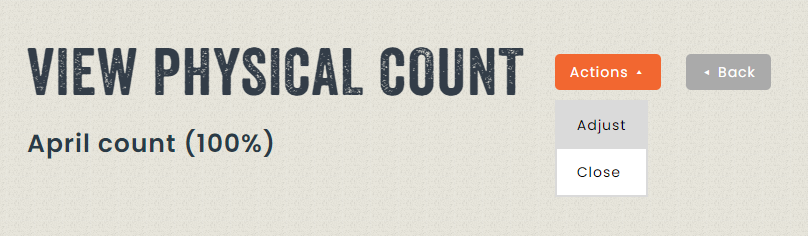
Adjust
If assets were flagged as missing, or assets with multiple quantities had different quantities than those in stock, the adjustment step allows the inventory to be corrected per the findings during the count.
Let’s dig deeper in the adjustment screen to understand what we are seeing in the screenshot above. Our goal in the adjustment screen is to accept each line in the count.
- The button Check All will accept all inventory adjustments and when the form is saved, the inventory will be adjusted per the count data. The button Check Found will check all lines that were found. These usually don’t have any issues, other than varying quantities.
- The list of assets can be filtered in order to show only lines that were found, or only missing lines, or both.
- The Accept checkbox accepts the line in the count. If found, the last counted date will be updated for the asset and quantities will be adjusted for lot sizes.
- For line #1 we can see we have a count quantity of 48 which was equal to the stock quantity of 48. This is an easy line to accept.
- For line #2, the count quantity of 31 was slightly lower than the stock quantity of 32. We can choose to accept the line, and leave the quantity as is. We can also adjust the quantity if we feel a mistake was made. For both cases, the accept checkbox will be checked. If a recount is necessary, the accept checkbox will not be checked until a new figure is returned.
- Line #3 has a count quantity equal to stock quantity. This is an easy line to accept.
- Line #4 is missing. If accepted, the asset will be flagged as lost until it is found in another count, or in the field. If detective work needs to be performed because the line is of high value, then this line would not be accepted. The count will remain open until this line is resolved.
Close
Close the count without adjusting the inventory levels. In this case, inventory will need to be manually adjusted in the application.
Step 8. Reporting
Once your count has been closed, you can generate data around the count for management purposes.
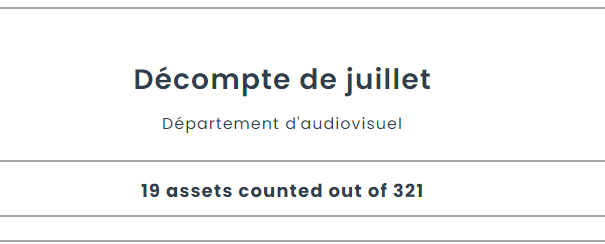
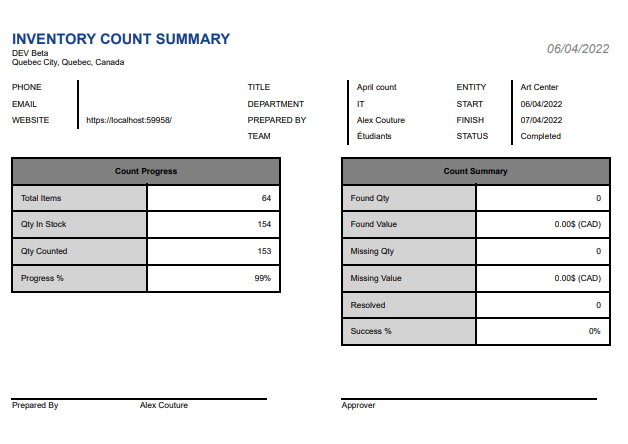
Option 1 : A summary report for the count can be printed from the view screen. The summary report will contain all information from the count for review purposes.

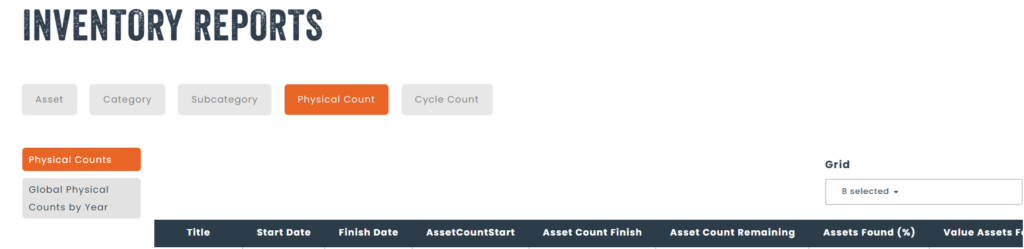
Option 2 : Navigate to the Reports menu and click on the Inventory section.

Next, click on the Physical Count tab to see the available reports. One report is a list of physical counts with stats around number of assets counted, how many were missing and the overall value of found vs missing assets.
Step 9. Summary
Hopefully, this article was of great help to get you started with physical counts. Our team is always available if you have questions in order to help get you started using this exciting feature.
Happy counting!