Here are the steps to follow in order to add a logo on your barcode when printing.
Required before starting:
- Have access to the inventory menu
- Have access to the setting menu, barcode.
Step 1:
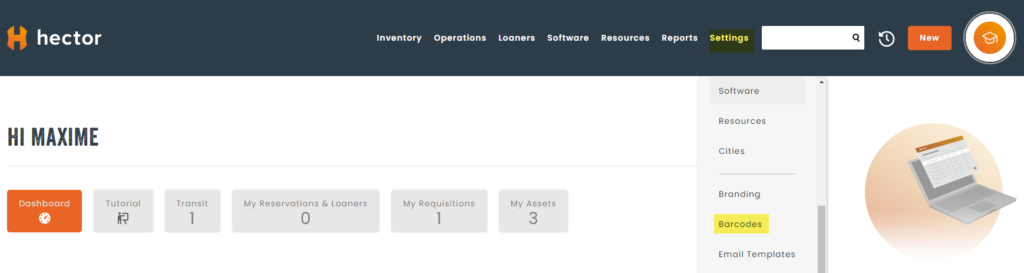
You will have the option to add your company’s logo on your barcodes, to do so, select the Settings menu and then Barcodes:
Step 2:
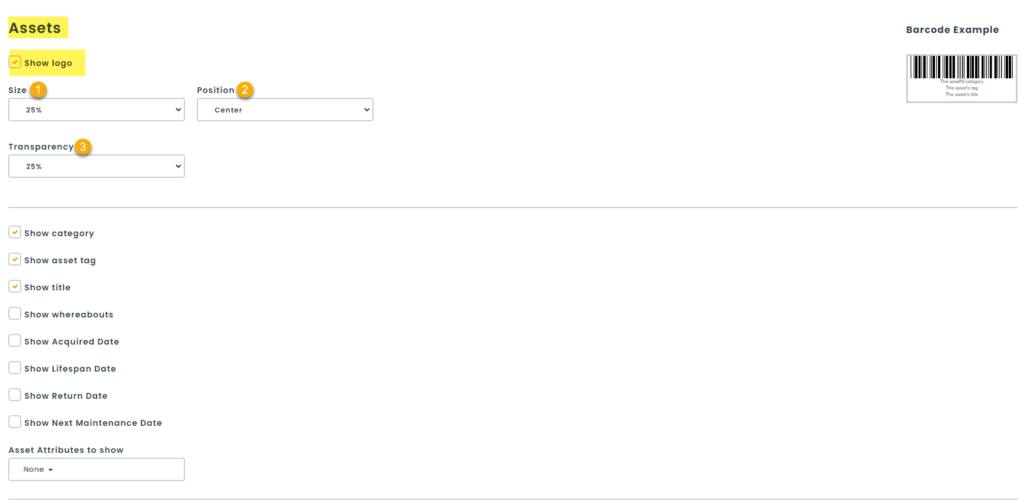
In the barcode settings under the Assets menu, select the option: Show logo, you will also be able to set the size, position and transparency level of your logo:
Step 3:
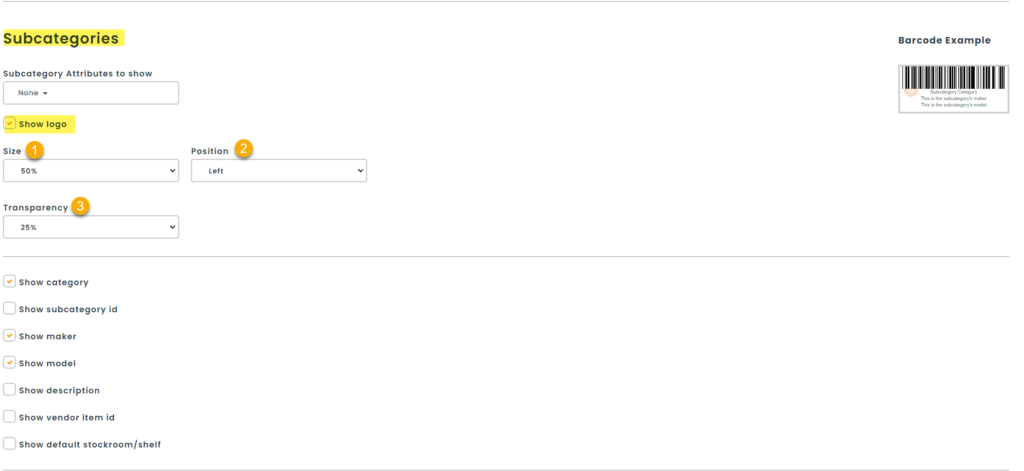
You can make it appear under the subcategory by performing the same steps as before:
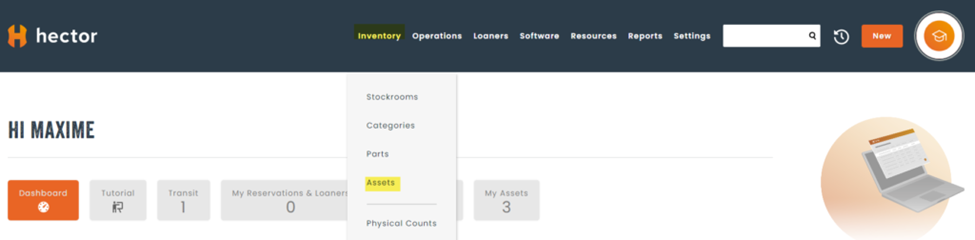
Step 4:
In the inventory menu, access the Assets menu.
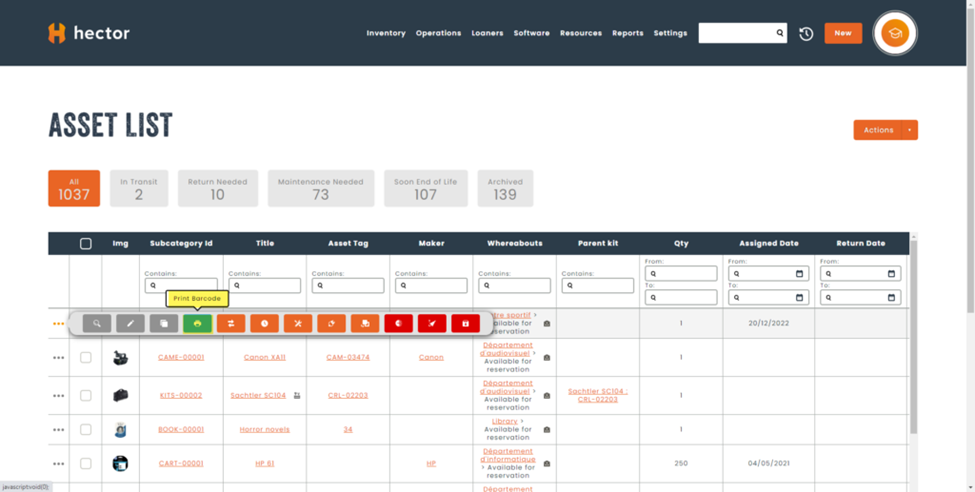
Step 5:
In your asset list by clicking on the action menu in the left column where the 3 dots are, select Print Barcode:
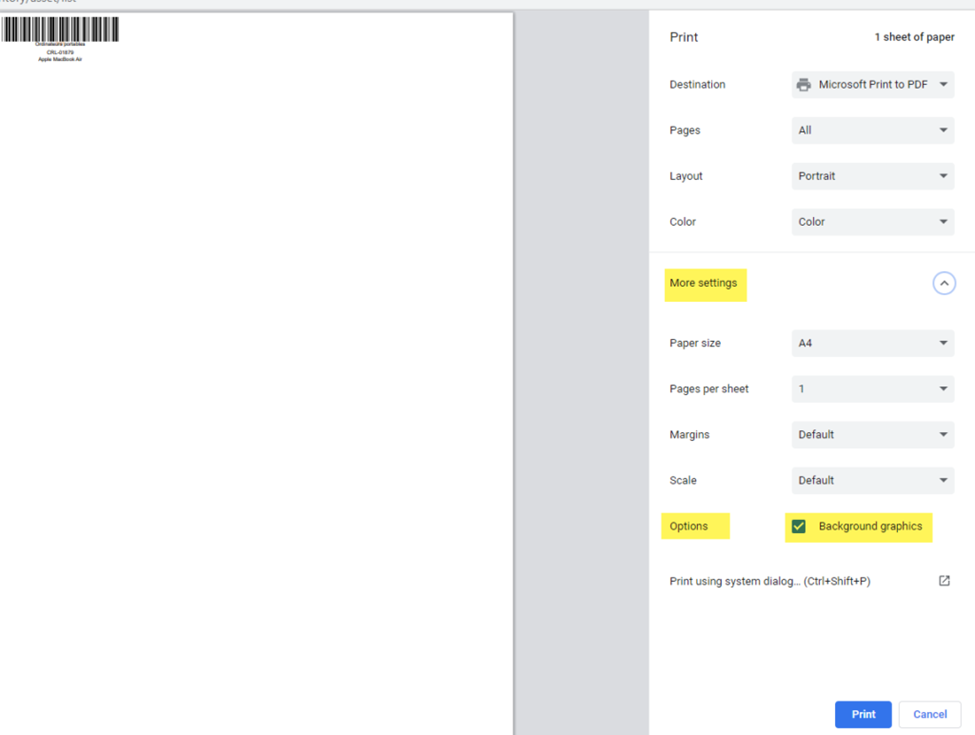
Step 6:
For the last step, click on the menu: More settings, check the box Background graphics in Options and then print by clicking on Print: