Groups are very useful to handle individual permissions for records, as well as setting up notifications throughout the application. In this guide, we will show you the two different ways of creating groups, and how to add members to them.
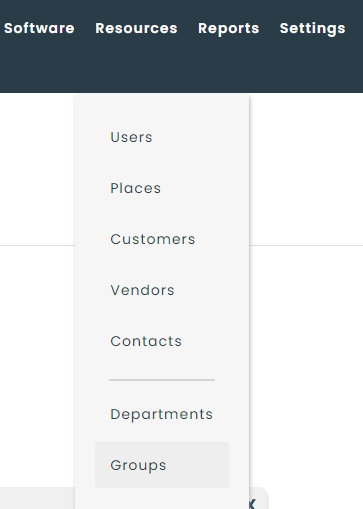
Method 1 : Create a group from resources menu

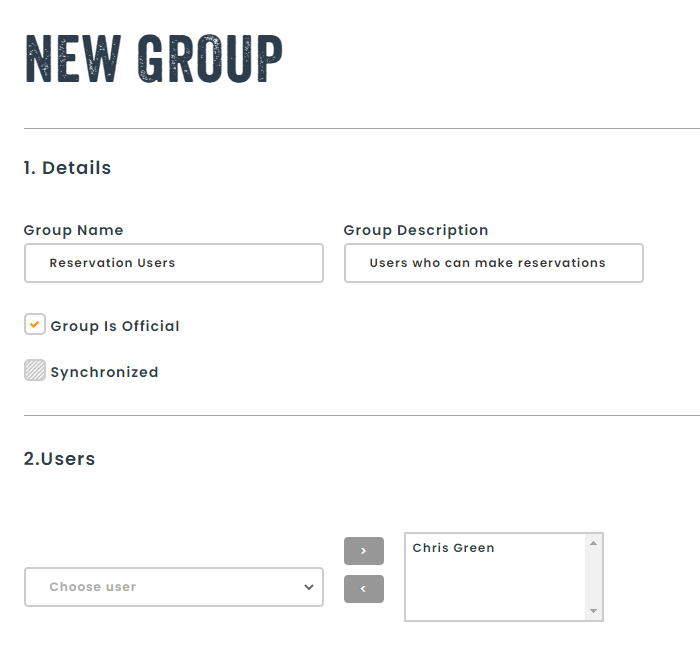
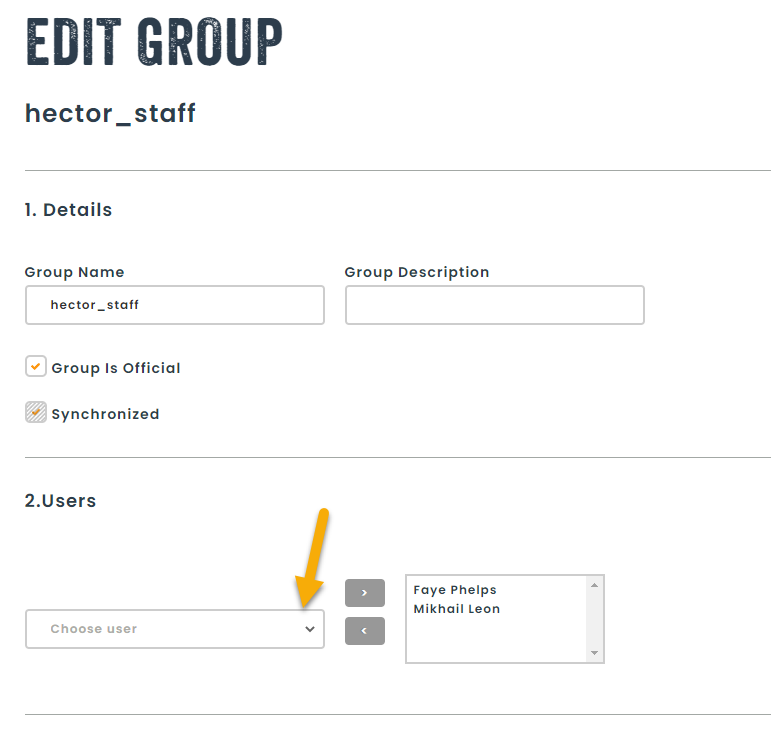
Give a name and description for your group. When a group is official, it will show in the selector. If not, it will be hidden.
Afterwards, select users that will belong to the group and move them to the group using the arrows.
Method 2 : Create a group using the + next to a group selector
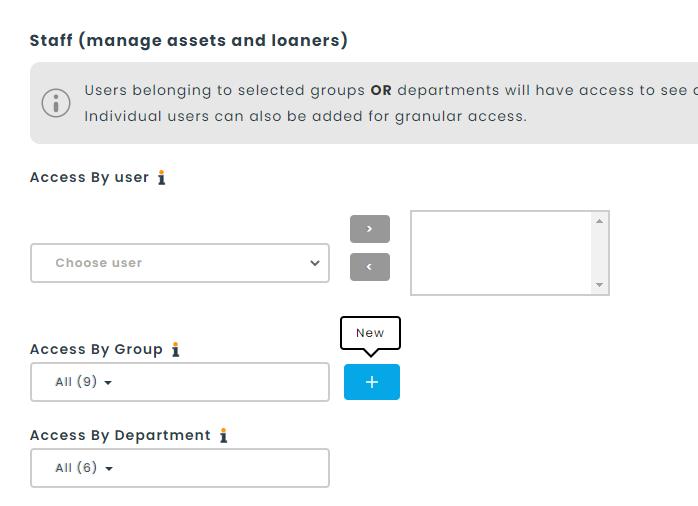
When navigating in the application, you will find group selectors in the permissions and notifications screens.
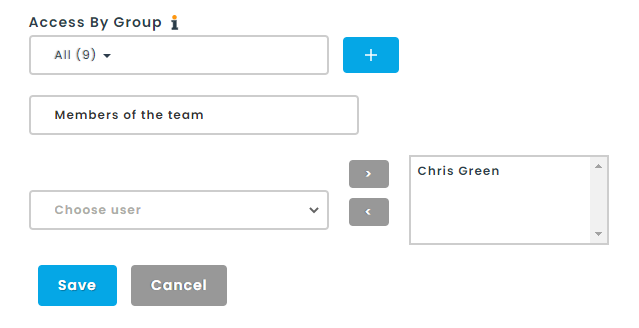
You can create groups directly from this screen by clicking on the + sign next to the group selector. This will open up a small form where you can give the group a name, and then specify its members.
Adding members to an existing group
You can add members to an existing group by navigating to the Resources > Groups section from the main menu.

Next, you will choose a group to modify and click on the edit button.

You can add groups in very much the same way as in method #1 and #2, by searching for users and adding them using the arrows.
Did you know you can synchronize your groups using Microsoft Office 365 or Google Workspace? Get in touch with our sales team for more information to help you synchronize your groups with Hector.