Here is a new feature in your Hector instance to start the year 2023 in good way, you can now enjoy a feature allowing you to customize your different menus.
This article will introduce you to these 3 new features.
Required before starting:
- Have access to the settings menu
- Have the Branding à la carte option
Thanks to its new features you will now have the opportunity to customize your different menus in 3 different ways:
- Adding a header
- Adding a separator
- Adding a URL address
This guide will explain where these options are located and explain what they allow you to do.
Step 1:
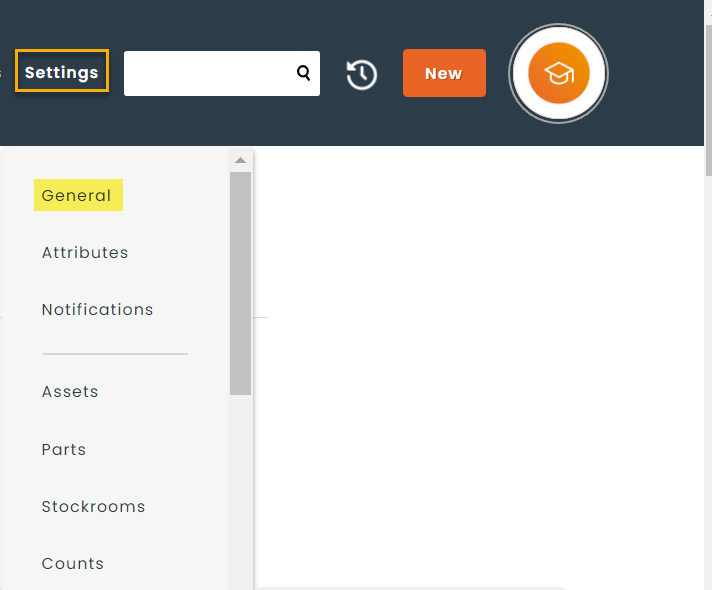
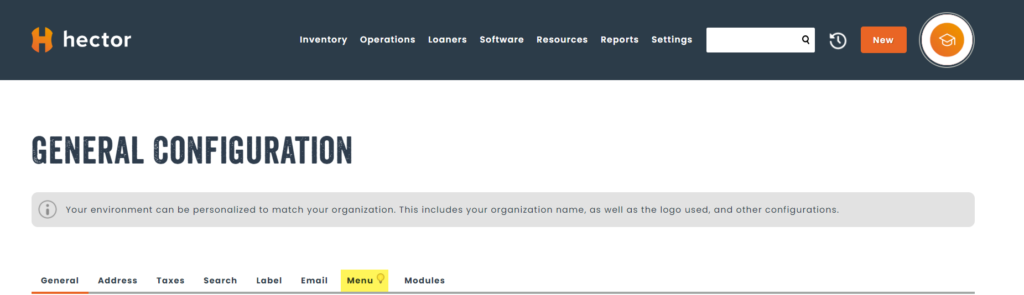
In order to go to these configurations, go to the menu settings and then general.
Step 2:
In the general configuration menu, select the menu function.
Step 3:
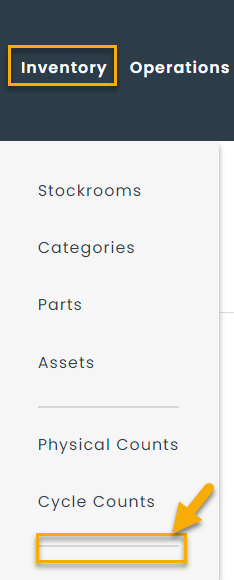
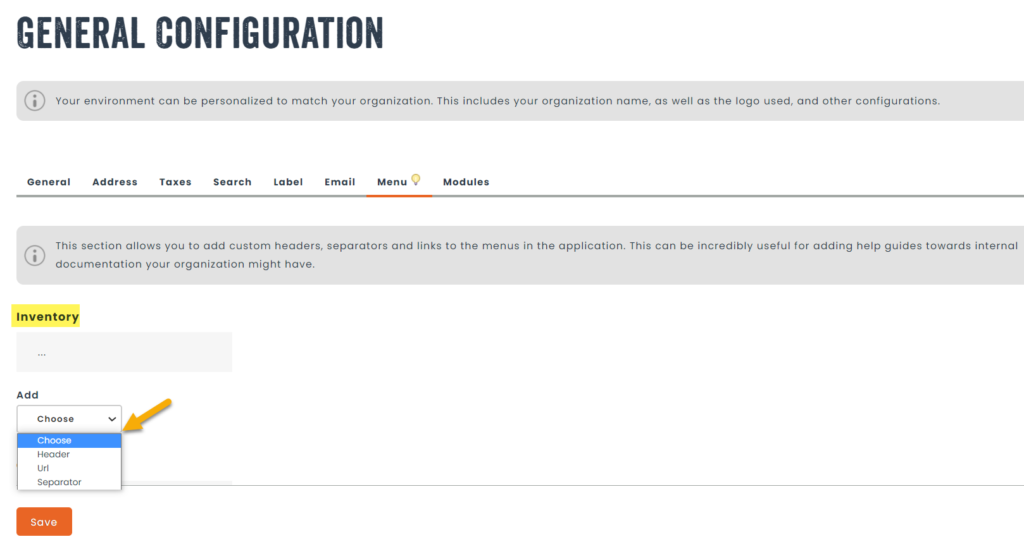
On the next page you will find the different menus that are part of your instance.
Under each of them you will find a drop down menu under the Add tab, you can then choose the option you want to add: header, URL, separator.
Now that you have reached this point, here are the different options and their features.
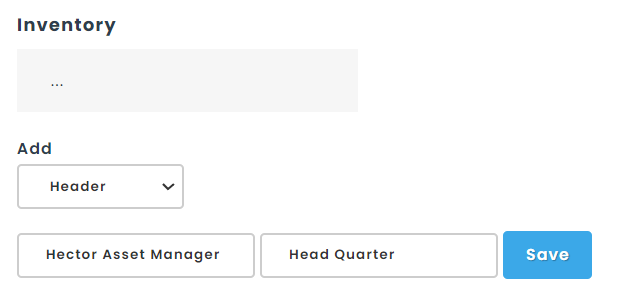
1. Header

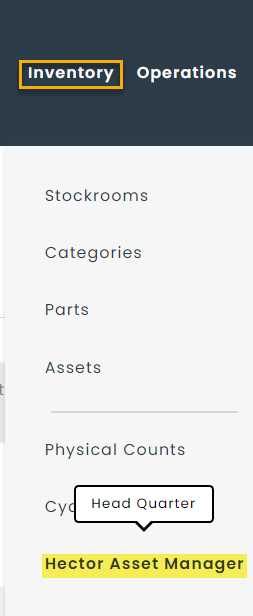
You will be able to add the main information for your entity, also you will have the option to enter a comment related to your title and save. You will then find the main information and comments in the selected menu.
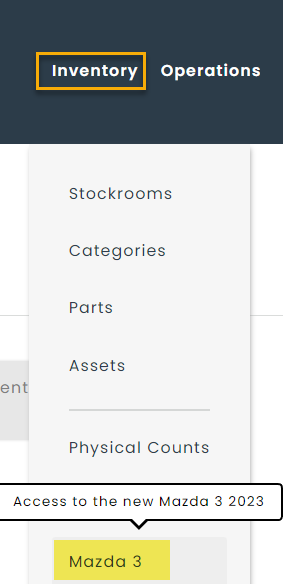
2. URL
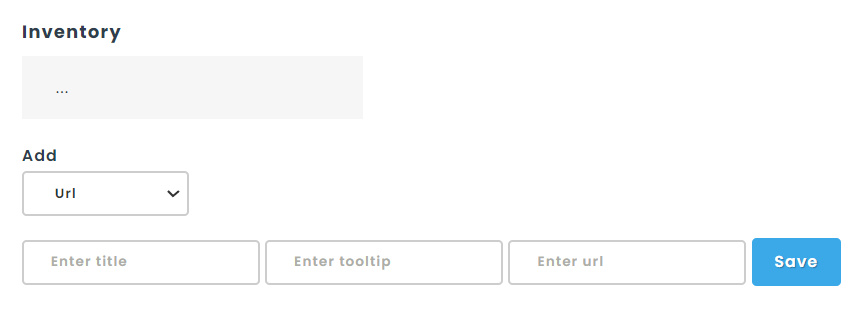
Allows you to add a hyperlink to additional information (website, link to documents).
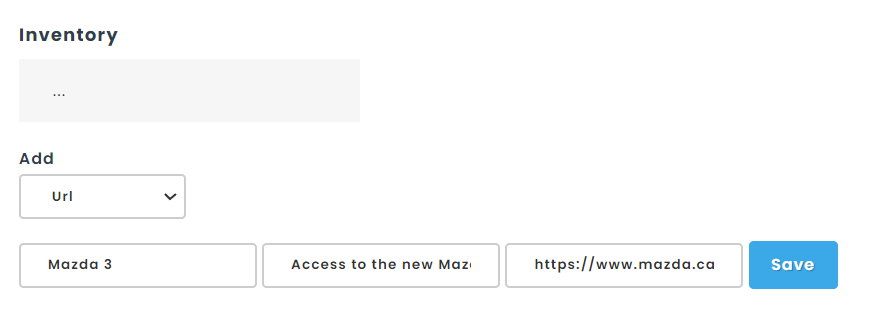
In this example you will notice that the addition will appear with the location info, you will only have to click on the title to be redirected to the URL indicated.

3. Separator
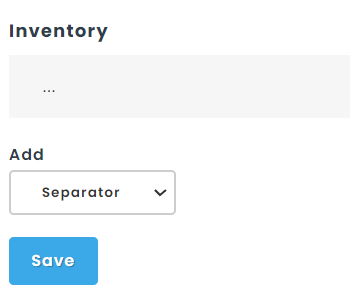
As the name suggests, this last option allows you to separate each sub-menu of your main menu.