Requirements

- You have an Armor or Castle subscription plan
- Your permissions allow you to access to the Settings menu
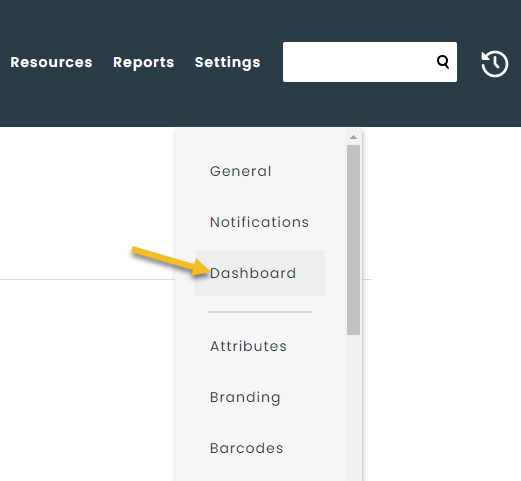
Step 1 – Access the section
In order to make changes to your dashboard, you will need to access the Dashboard section in the Settings menu.
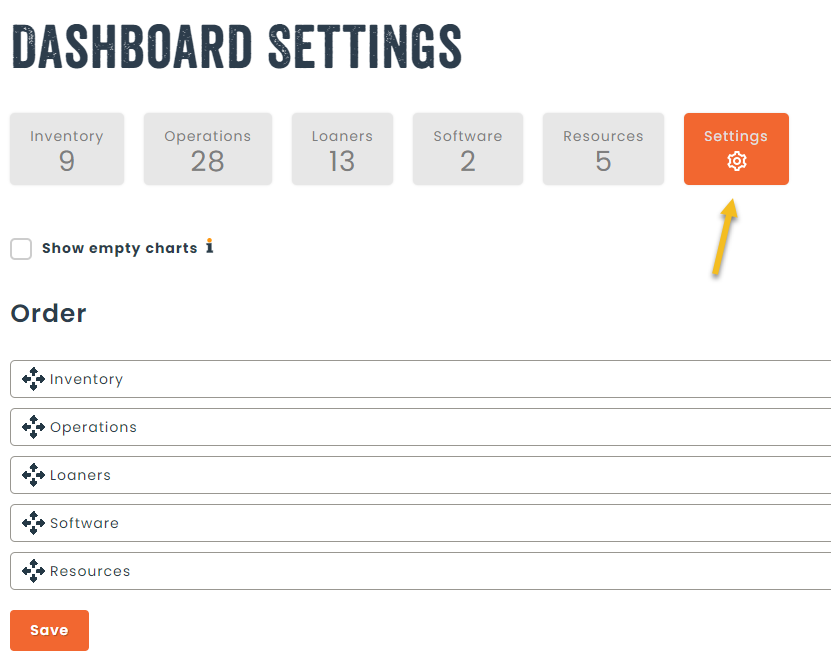
Step 2 – Options
You can make changes the settings of the dashboard, like choosing to display empty tiles (or not), as well as choosing the order of the different sections on the home page. This allows you to prioritize some sections over others.
You can also make changes to each individual tile found on the dashboard which is detailed in the following list.
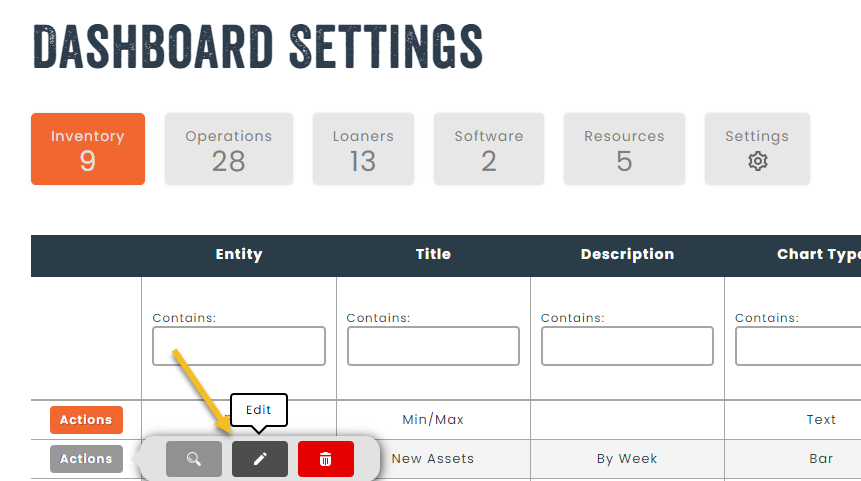
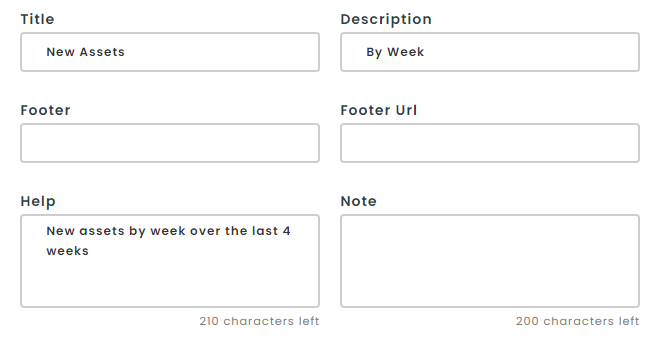
Change the title, description, help and footer
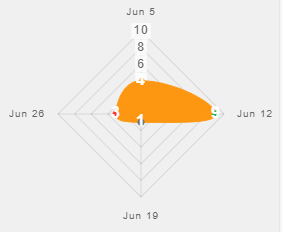
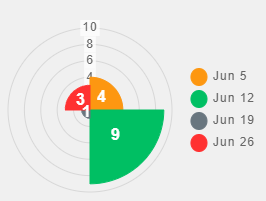
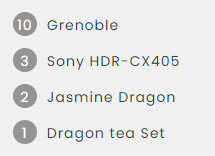
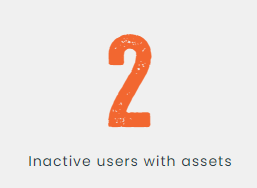
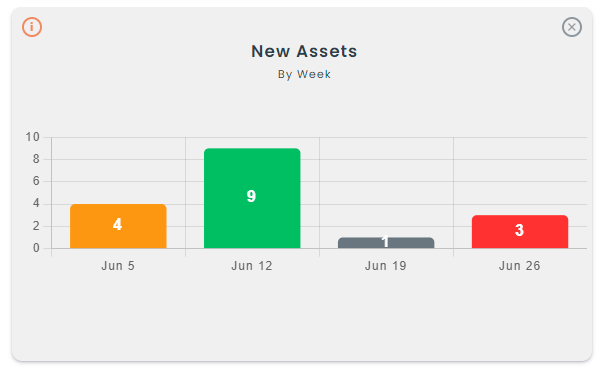
Change the type of chart
The following types of charts are available to use :
- Bar
- Vertical
- Horizontal
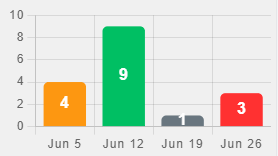
- Line
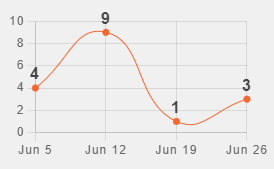
- Pie
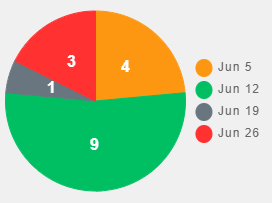
- Doughnut
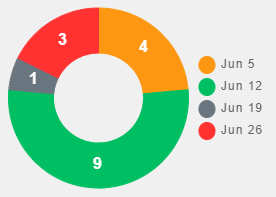
- Radar
- Polar Area
- Text
- Shows a list of 4 elements in a text format
- Number
- Shows one big number to attract attention
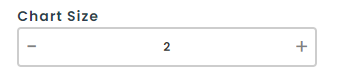
Change the size
Choose how many columns the chart uses from 1 to 3. This allows you to make some tiles bigger than others.
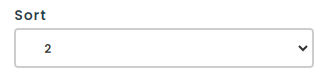
Change the sort order
Choose which tiles will show in which order using the sort option. When making changes, all other tiles will automatically reorder based on your selection.
Change the permissions
You can choose which departments and groups have access to the specific tiles in order to lock down access for sensitive information. Remember that the data in the tiles themselves are adapted to the user’s permissions as well.

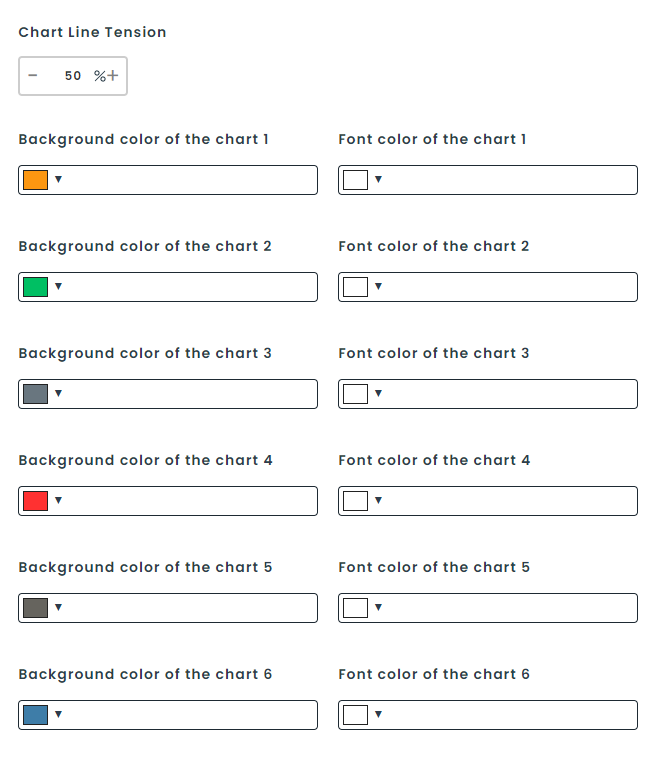
Step 3 – Branding

You can also choose to make changes to the colors of the graphic to match those of your organization from the branding menu, and navigating to the bottom of the page where you will see the different chart options.
This completes our guide to configuring dashboards in Hector.