Welcome to Hector, the ultimate asset and inventory management application!
The aim of this article is to make your browsing experience as smooth and straightforward as possible. Thanks to a user-friendly interface and clear functionalities, you’ll have easy access to the information and tools you need.
Whether you’re a novice or an experienced user, our integrated guide and customization options will help you get the most out of your navigation!
Connection
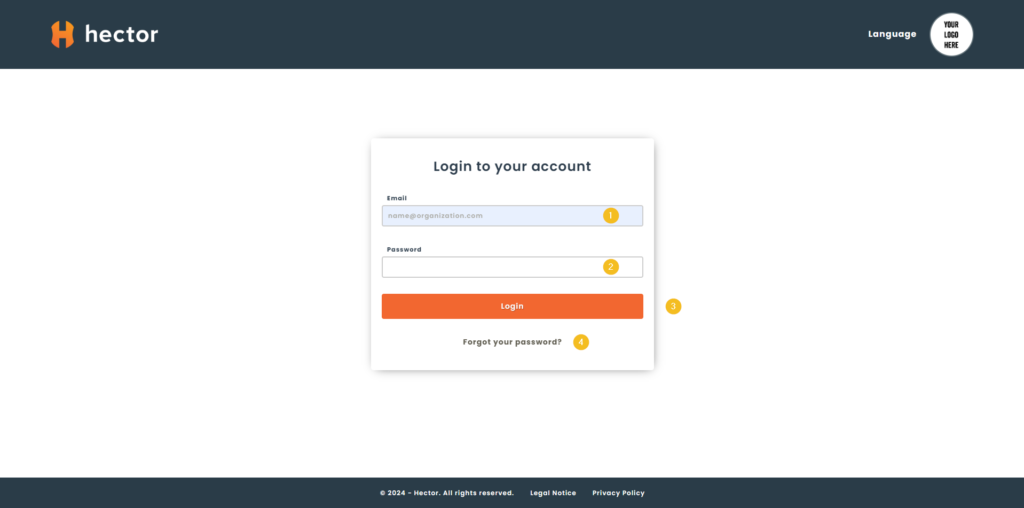
The login page allows you to authenticate yourself in the application and access your inventory database.
- Enter the e-mail address you used to register, or that your administrator has forwarded to you by e-mail.
- Enter the password you received by e-mail.
- Click on the orange Login button.
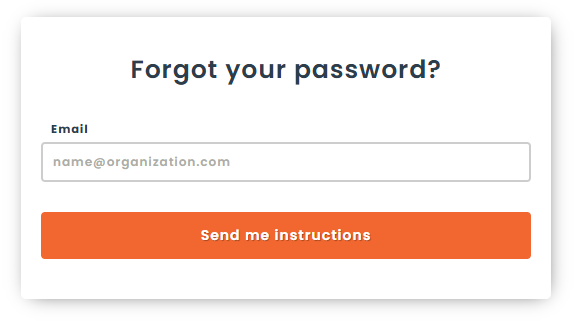
- If you forget your password, you can click on the option to receive a new password by e-mail.
Home and main menu
Once connected, you’ll see a display that helps you navigate the application and find what you’re looking for.
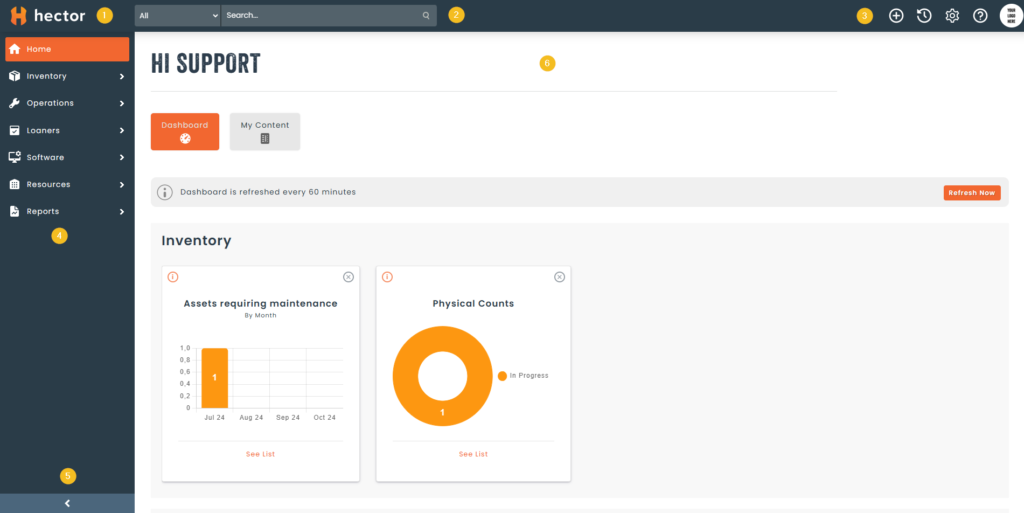
1. Hector Logo
The Hector logo takes you back to the application’s home page. You can change this logo, or hide it from Settings > Branding.
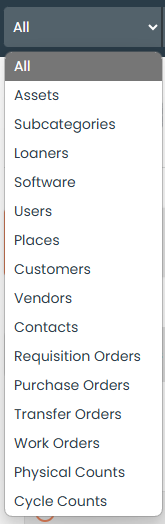
2. Search
In the center of the top menu, you’ll find the Search bar, which lets you look for information in your database. You can search among all the entities in the application, or you can search for a specific entity using the selector.
3. Shortcuts
In the top menu, there are several icons to enable you to take actions or access information quickly.
i) The + allows you to quickly create different entities within the application. For example, you can create an asset from the submenu.
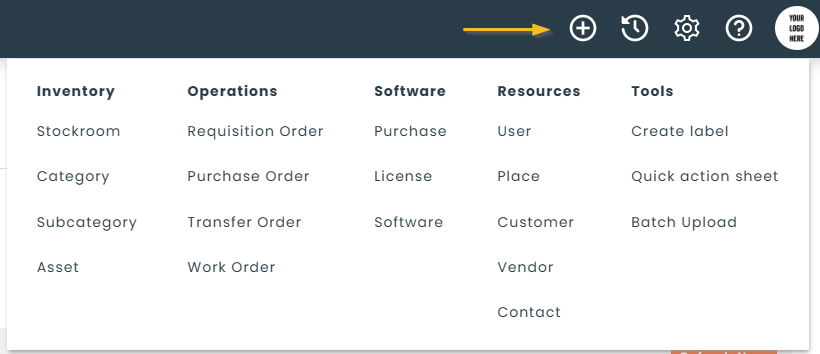
ii) The clock with arrow icon lets you consult your browsing history to quickly return to a record you’ve recently consulted.

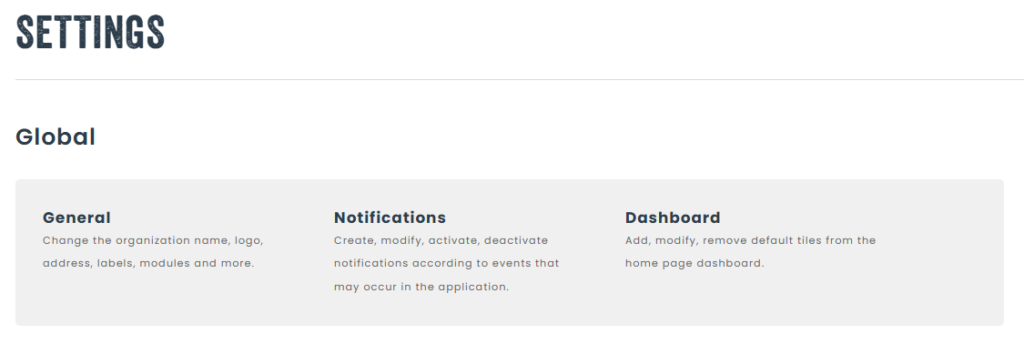
iii) The gear icon takes you to the application’s Settings. Note that you must have access permissions, otherwise the icon will be hidden.

iv) The question mark icon takes you to the application’s Help Center, with articles and videos to help you get to grips with inventory management in your organization.

v) The circle with the white background is a menu linked to your user, allowing you to make changes to your profile and environment.
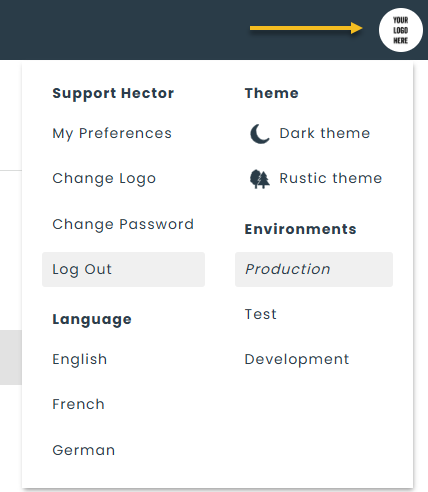
- Your user preferences
- Environment logo
- Your password
- Logout
- Your language
- Your theme
- Your environment (if you have access to a Test environment).
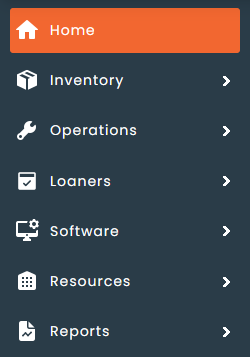
4. Main Menu
The main menu allows you to navigate within the application according to the different sections and subsections. Please note that the sections in your environment may vary from the image below, depending on your layout and the modules you’ve activated.
When you log on for the first time, Home will be selected by default. A hint is the orange background color, which identifies the section you’re in.
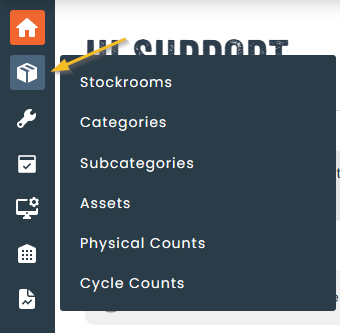
Each section has an arrow to the right of the text. This arrow lets you expand the menu to display the sub-sections inside.
When you click on a section, you’ll notice that the arrow points down and the section’s submenu is displayed. You can click again if you wish to hide the submenu.
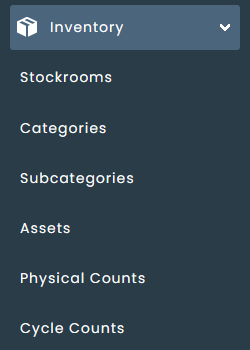
When you click on a sub-section, it will turn orange, and the menu will automatically open to show you where you are in the application.
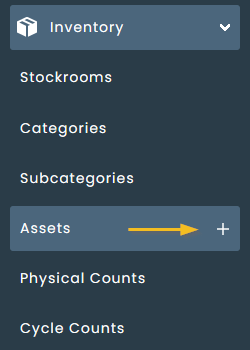
A little tip: when you hover over a sub-section, a + appears to the right. This is a shortcut that lets you quickly create a record for this entity.
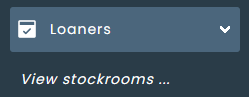
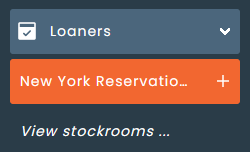
A final consideration is the loaner section. If your database has more than 5 stockrooms on which loaners are enabled, a new sub-section will appear containing a list of all the stockrooms.
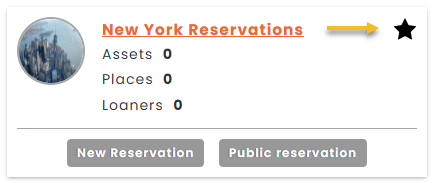
To add one of the stockrooms to the main menu, you can click on the star, which will enable you to navigate quickly to that stockroom in future.
5. Expand/Shrink the main menu
You can reduce the size of the main menu using the black arrow at the bottom of the main menu.

This shrinks the main menu, maximizing the size available for application content.

Although the main menu has been minimized, you can still access the sub-sections of each section by clicking on the icon.
You can expand the menu at any time by using the arrow on the right.

6. Content
Content is the area with the most space in the application. This space is reserved for displaying the different pages according to the sub-section you’re in.
Most of the content is structured in one of three ways.
Page with Table
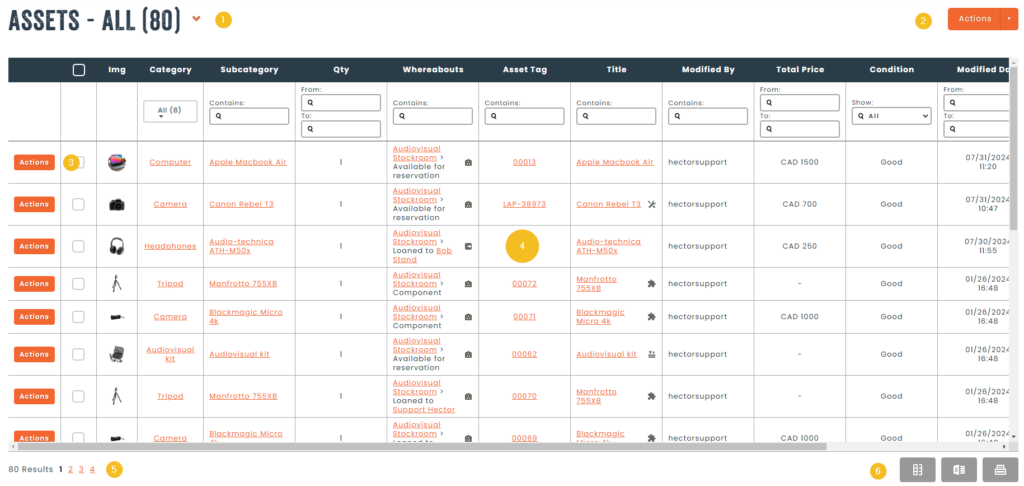
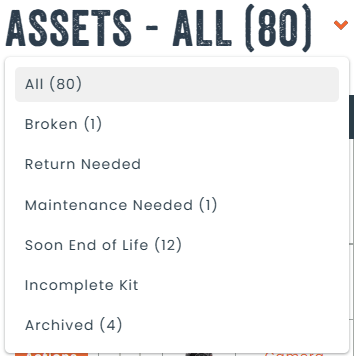
- The page contains a header with information on the sub-section we’re in. Depending on the sub-section, an orange arrow may be visible, allowing us to access various pre-configured filters in the table. For example, it is possible to filter assets requiring maintenance.
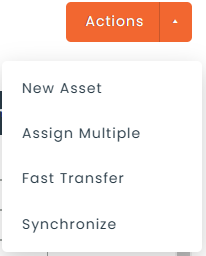
2. An action button that lets you perform actions such as creating a new record, or performing actions specific to the sub-section you’re in.
3. Each line of the table contains an action menu, allowing you to perform operations on the data. This menu will vary from one sub-section to another. For example, in the asset table, you can move an asset from one location to another.

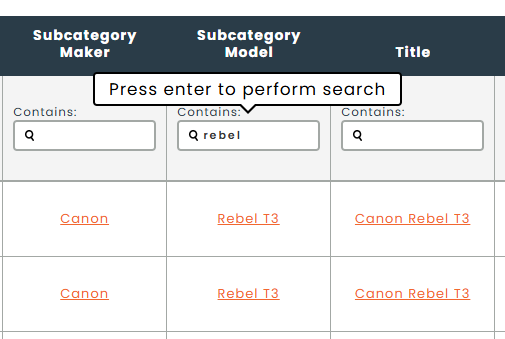
4. The table itself containing the data separated into columns. Depending on the sub-section, each of the table columns can be filtered to find data more easily.
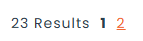
5. A pagination control and the number of results in the database for the sub-section. To change page, simply click on the number.
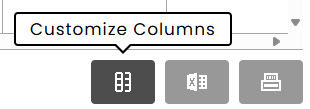
6. Actions that can be performed on the table. For example, the assets table allows you to change the column display, export to Excel, or print labels for each asset in the list.
Page with Form
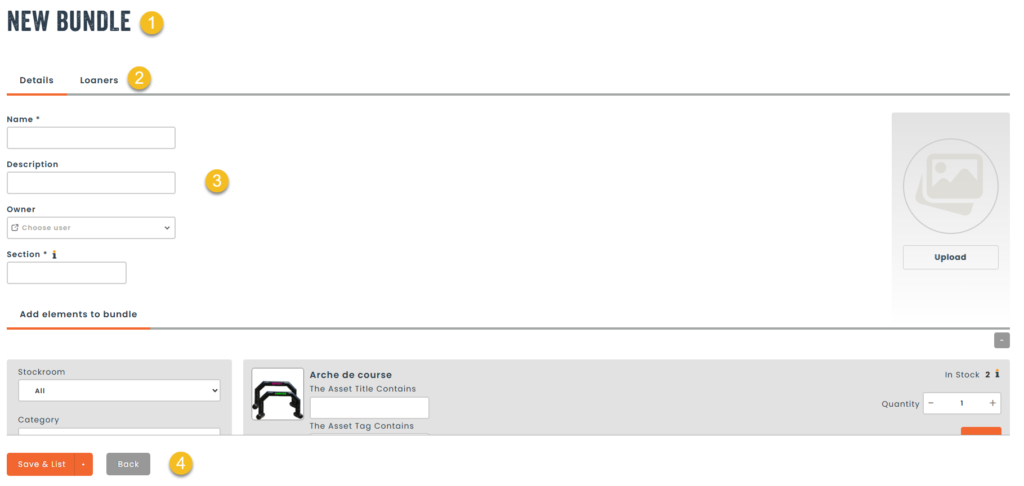
Form pages are characterized by the ability to create or modify records in the database. Each page has the following characteristics:
- A header that lets you know whether you’re in creation or modification mode.
- Tabs that take you to the various recording options.
- Fields that can be filled in as text, list, checkbox, numeric, date, image or file selector. Some fields are more sophisticated, like the catalog shown in the example above.
- A section reserved for saving or cancelling changes, allowing you to finalize the transaction.
Page in View

- View mode pages allow you to consult information about a record. It is also possible to perform the same actions found in the table action menu.
- A back button takes you back to the previous page.
- A title, and often an image, gives you information about the recording.
- Tabs contain configuration information, as well as links to other parts of the application. In the case of the asset view page, you can find information on permissions, view an availability calendar, current loans, or history. Additional tabs may be added as you perform more transactions in the application.
- There’s a place for all the information you entered when creating the record.
Our web application is designed to provide you with fluid, intuitive navigation tailored to your needs. Thanks to its practical features and simplified interface, you can explore and use the various sections with ease. Don’t hesitate to send us your feedback so that we can continue to improve your user experience. Happy browsing!