Requirement
- Microsoft Windows Server 2008 R2, 2012, 2012 R2, 2016, 2019
- Microsoft .NET Framework 4.5+
- Internet Information Services
- User account with read-only access to Active Directory
- An ability to add entries into a public DNS
Step 1 – Download Files
Download files for the web service from the email received from your account manager.
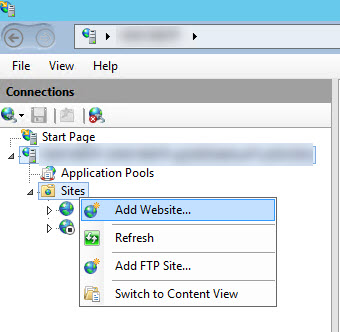
Step 2 – Windows Server – IIS
Create a website in Internet Information Services for Hector
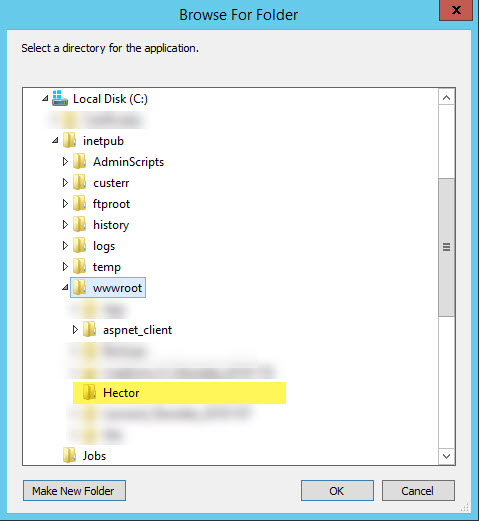
Step 3 – Create Folder
Create a folder inside the server that will hold the files for the Hector web service.
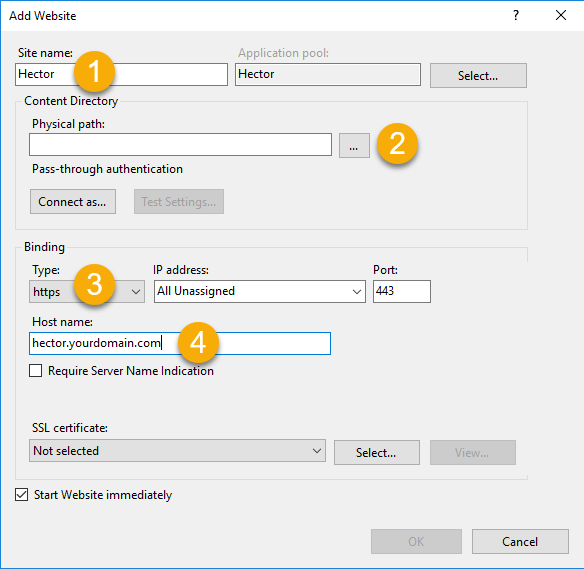
Step 4 – Create Web Site
Set up the site with following informations:
1. Site name
2. Location on the server created in the previous step
3. Setup https for a secured and encrypted connection between Hector and your server
You can follow this guide to create a self signed certificate on your server.
4. The domain name available externally
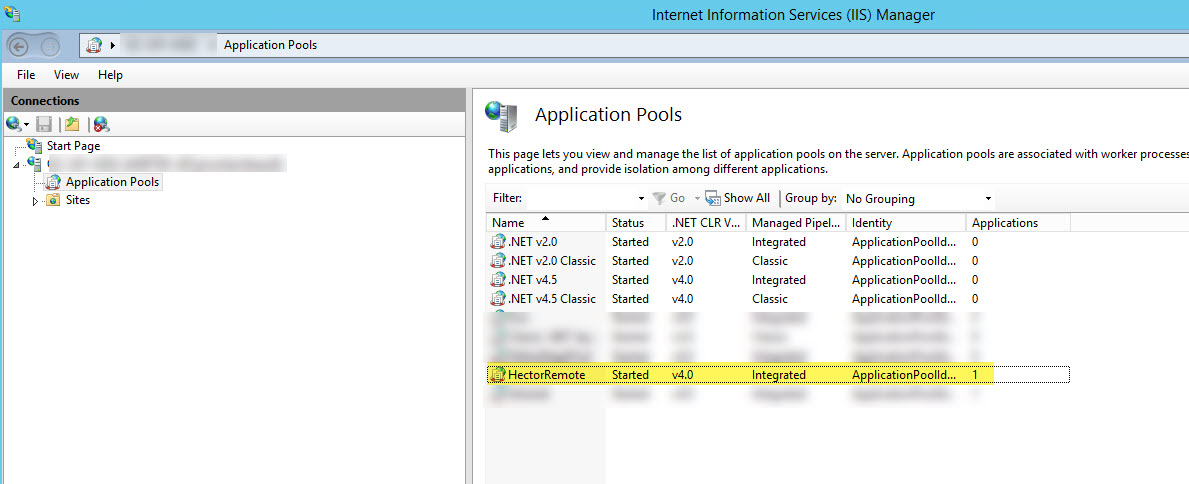
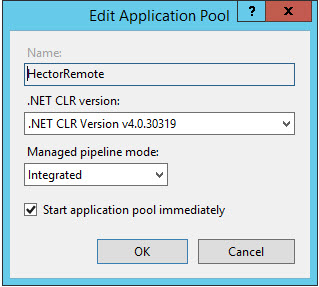
Step 5 – Configure App Pool
Set up the App Pool to implement version ASP.Net 4.0.
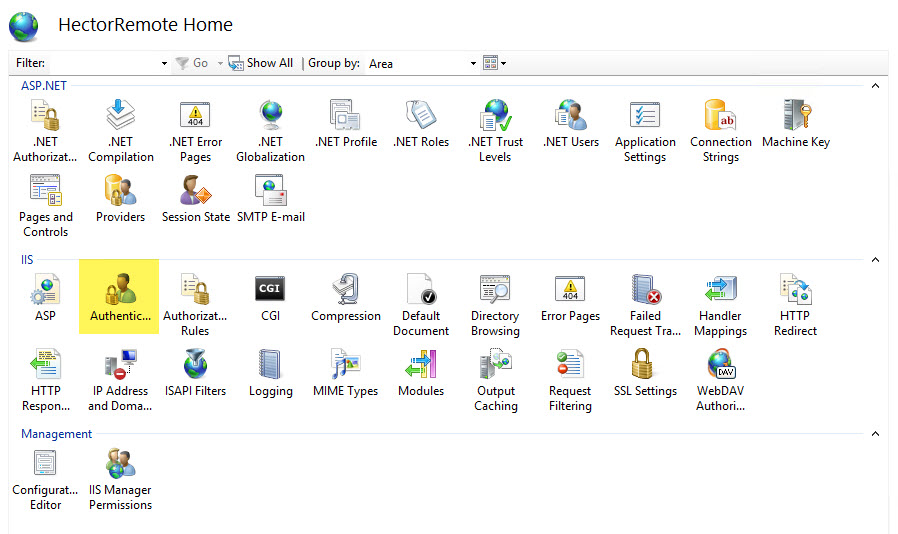
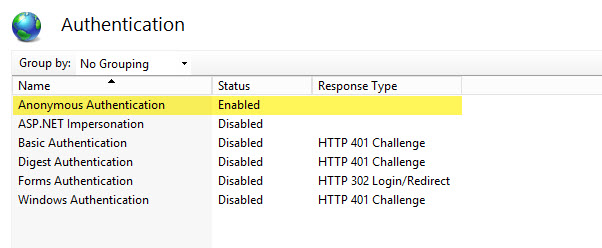
Step 6 – Setup Anonymous Connections
Set up site to allow anonymous connexions.
Step 7 – Copy Files
Copy/Paste downloaded files from Step 1 in the folder created in Step 3.

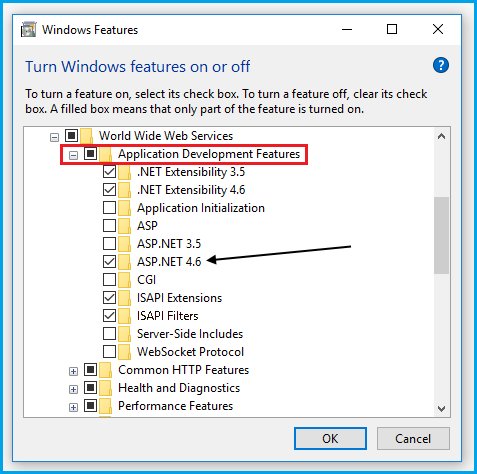
Step 8 – Install ASP.NET 4.X
From the Server Manager of your server, go into Windows Features and make sure ASP.NET 4.6 or ASP.NET 4.7 is installed.
Step 9 – Test
Navigate to the following address to test that the service is working properly.
https://hector.yourdomain.com/ad.asmx
If you have a page similar to this one, the installation was a success

If you are having issues getting the above result, you can use the help found in this article to troubleshoot.
Step 10 – Configuration in Hector
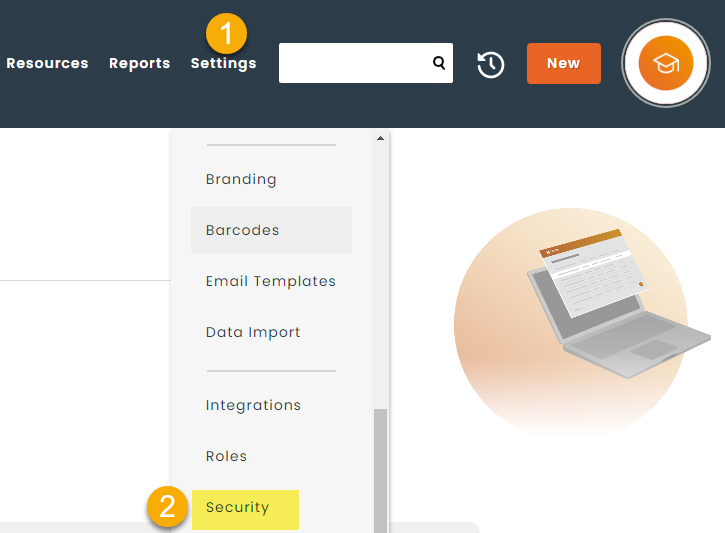
Navigate through your Hector instance with an administrator account and hover over the “Settings”.
Then, go to section “Security”.
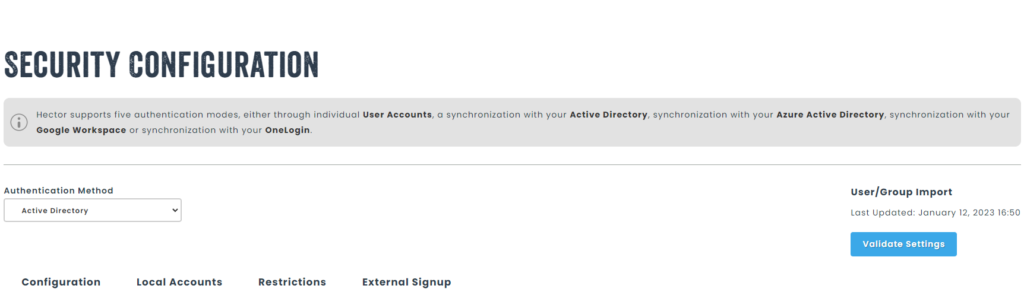
Step 11 – Setup Active Directory
Click on option “Active Directory” and complete the section by replacing the information in the example below with that of your environment.
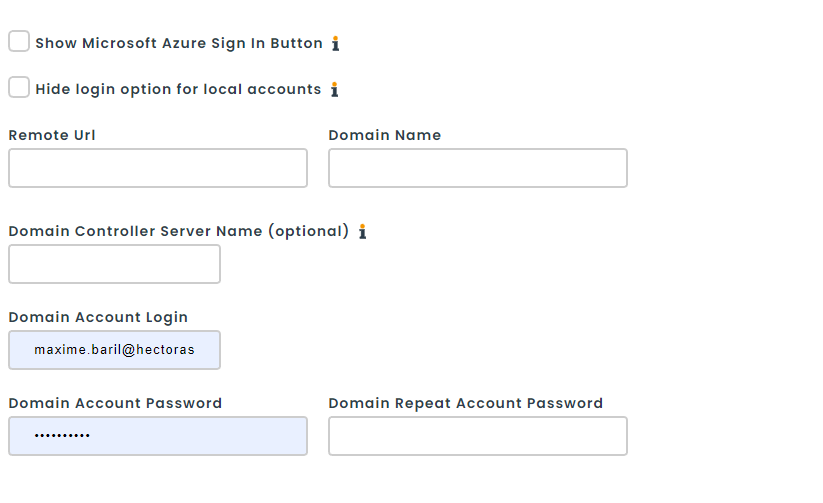
Fields
- Show Microsoft Azure Sign In Button
- If your Active Directory is federated with Azure, you can show a sign in button which will enable users to sign in using Azure.
- Remote Url
- Specify the Remote Url you set up in step 8 of this guide.
- Domain
- Specify your domain name.
- Most domains look like your organization name followed by an extension like hectorassetmanager.com.
- Domain Controller
- Optional Field
- If you have more than one Domain Controller in your Active Directory, you can manually specify the server name for one of your domain controllers that will be nearest physically to the Hector servers. This will speed up data import tasks.
- Domain Account Login
- Specify an account that has read-only access to your Active Directory.
- We recommend setting up a dedicated user for this task, for example, service.hector.
- Domain Account Password
- Specify the password for the read only account.
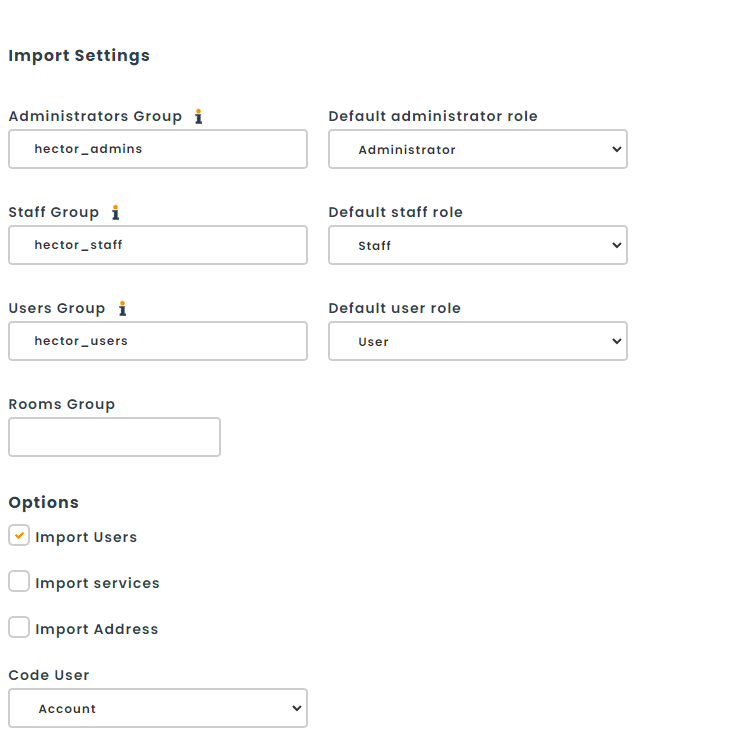
Step 12 – Setup groups and user synchronization
Navigate to the bottom of the page to specify settings for importing users into Hector.
Be sure to provide the names of the security groups for administrators, staff, users and places. You can also specify the default roles within the application for each group.
Finally, choose whether you want to import only users, or also cities, provinces/states, countries and departments.