Welcome to this online guide which will show you how to, in a few quick steps, configure your Google Chromebook Integration with Hector. This will allow you to quickly import and synchronize your organization’s Chrome OS devices from your Google Admin Console.
1. Connect to your Google Admin account.
You must have administrator privileges in order to add Hector as an authorized App.
2. Customer ID
Once connected, click on the “Account” and “Account Settings” link on your menu and then copy your Customer ID under the Profile section, as you will need it later in the guide.

3. Domain-Wide Delegation
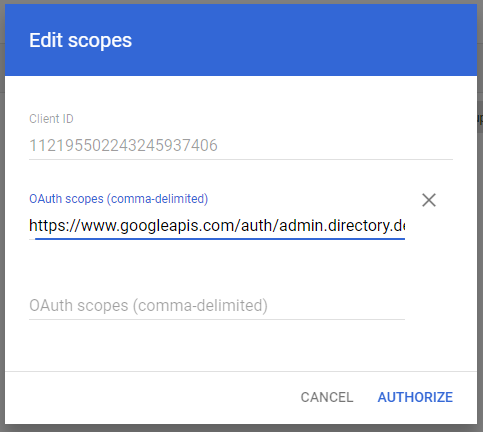
Next step is the domain-wide delegation. This allows certain users or applications from outside your group to read or manipulate parts of the group. In our case, you will want to add the Hector application with the privileges to read-only your chrome OS devices. Here are a couple of lines your are going to need to configure your domain-wide delegation:
Client ID (HECTOR): 112195502243245937406
Scopes (privileges):
- https://www.googleapis.com/auth/admin.directory.device.chromeos
Click on the “Security” and “API Controls” button on the menu and then click the “Manage Domain Wide Delegation” link.
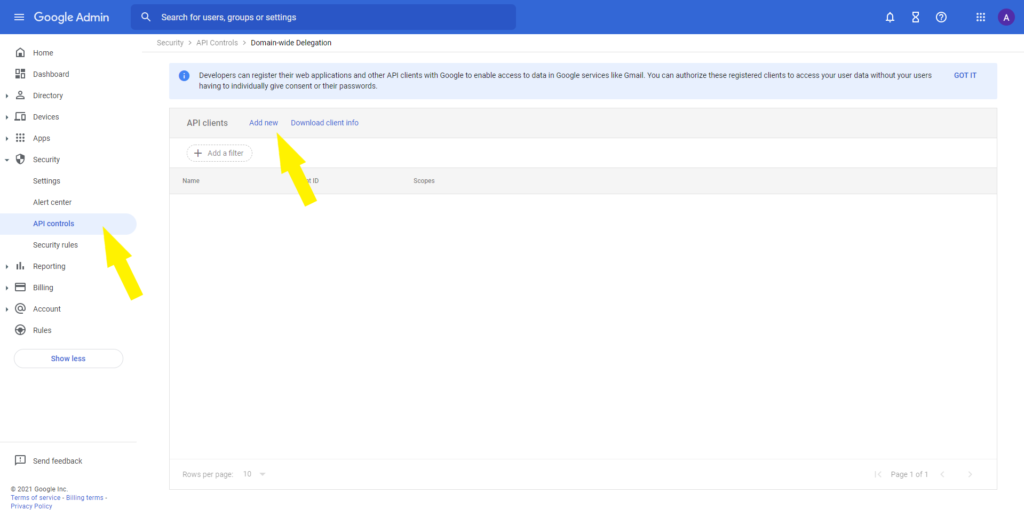
Click on the “Add new” button. Fill out the form with all the information above, then click “Authorize” (Or the “Edit” button if you already have another integration which uses the same set up).
You have completed the Google Admin portion of the setup. Next step is to access your Hector instance as an administrator.
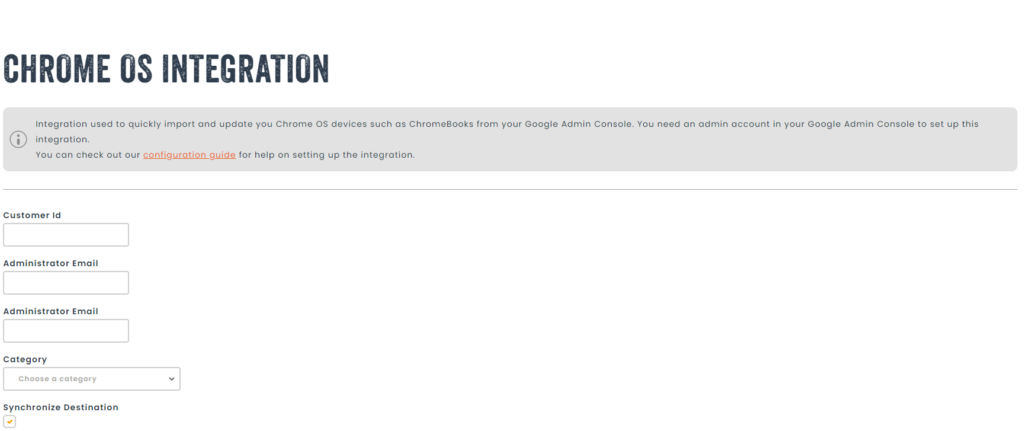
4. Hector Setup for Google Chromebook Integration
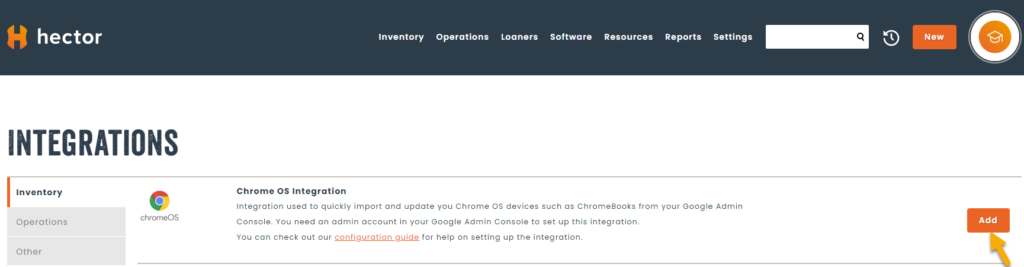
Connect to your Hector instance as an administrator and navigate to the “Settings” menu, and then click on “Integrations”. Once inside, choose the “Chrome OS Integration” in the “Inventory” tab and press “Add”.
Enter the Customer ID retrieved earlier in the appropriate input field and then choose an initial category and destination for your first time synchronized devices. Also entre an email with admin privileges on your Google Workspace, then press “Save and Integrate”.
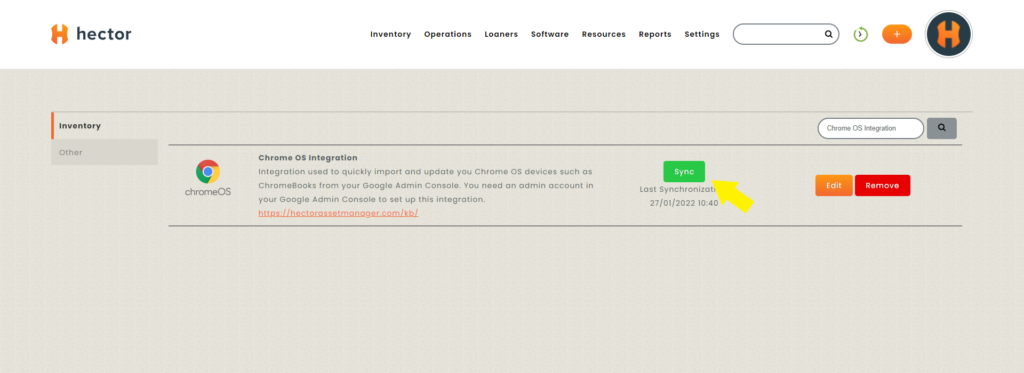
Your Google Chromebook integration is now set up and active. An automatic synchronization of all the devices in your organization will be performed every day. You can also synchronize it manually by pressing the “Sync” button.